If you have been on the hunt for an easy DIY YouTube background OR are looking for a fun way to organize any space, this budget friendly project is a must. This oversized pegboard is versatile and just waiting to be styled a hundred different ways.
I’m not going to lie. This DIY pegboard might be one of my favorite projects to date and regardless of how many times I look at it or style, I fall even deeper in love with it. Not only is this project inexpensive to make, but it can also be done within a couple of hours.
I am using this in my studio as a background for my YouTube videos, but I think it would look great in any space. Kids room, craft room, home office, garage, bedroom… you name it, it will look great there and add a custom touch to any space. What’s even better about this type of pegboard is that it’s actually functional as well. You can make the pegboard as large as you want, make the shelves as long as you want, hang things to the pegs themselves, and rearrange items anytime you like. It’s extremely versatile and aesthetic!
Materials needed:
- MDF or large wood board
- rotary saw
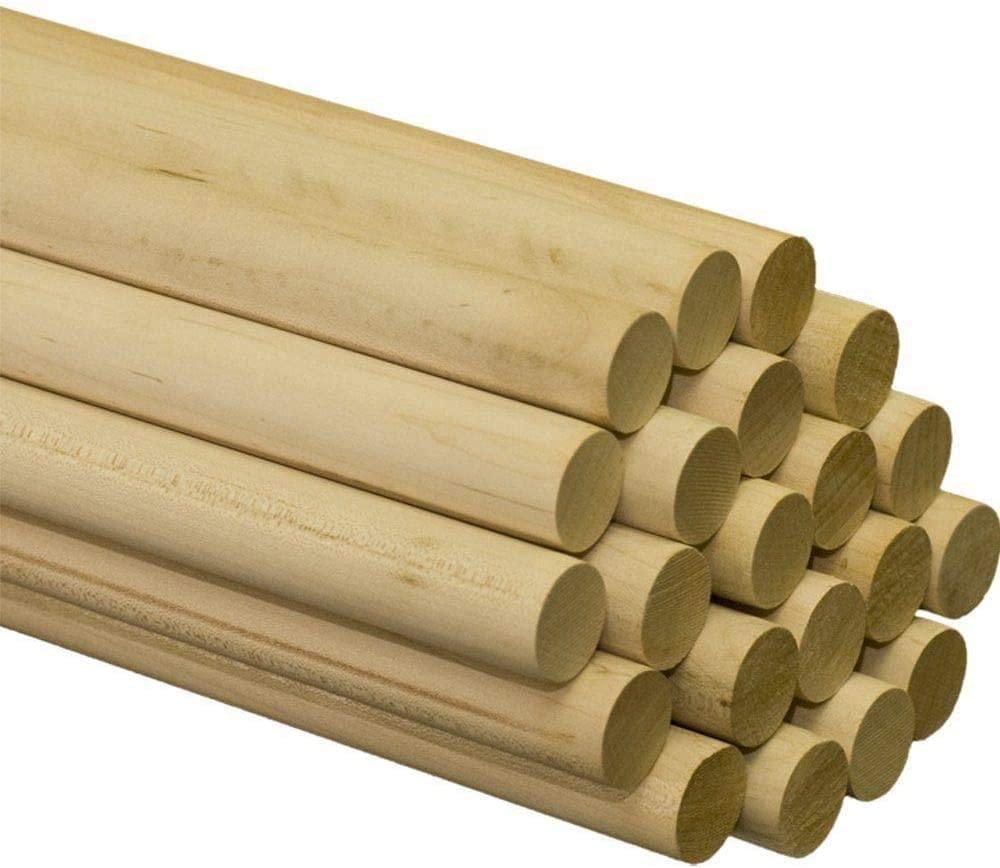
- 3/4” dowels
- 3/4” spade drill bit or hole saw drill bit
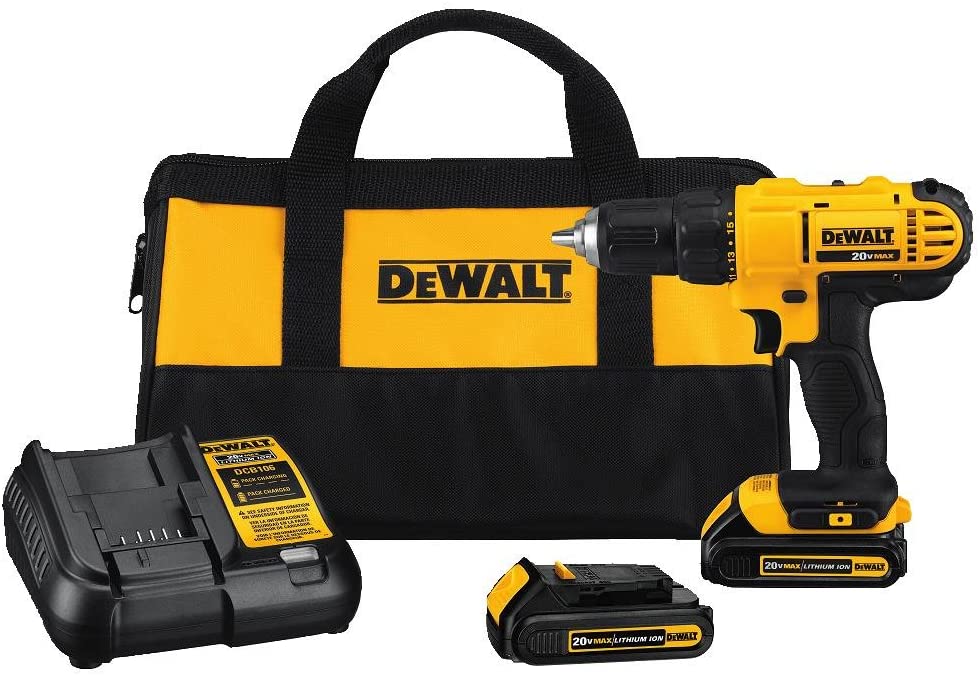
- drill
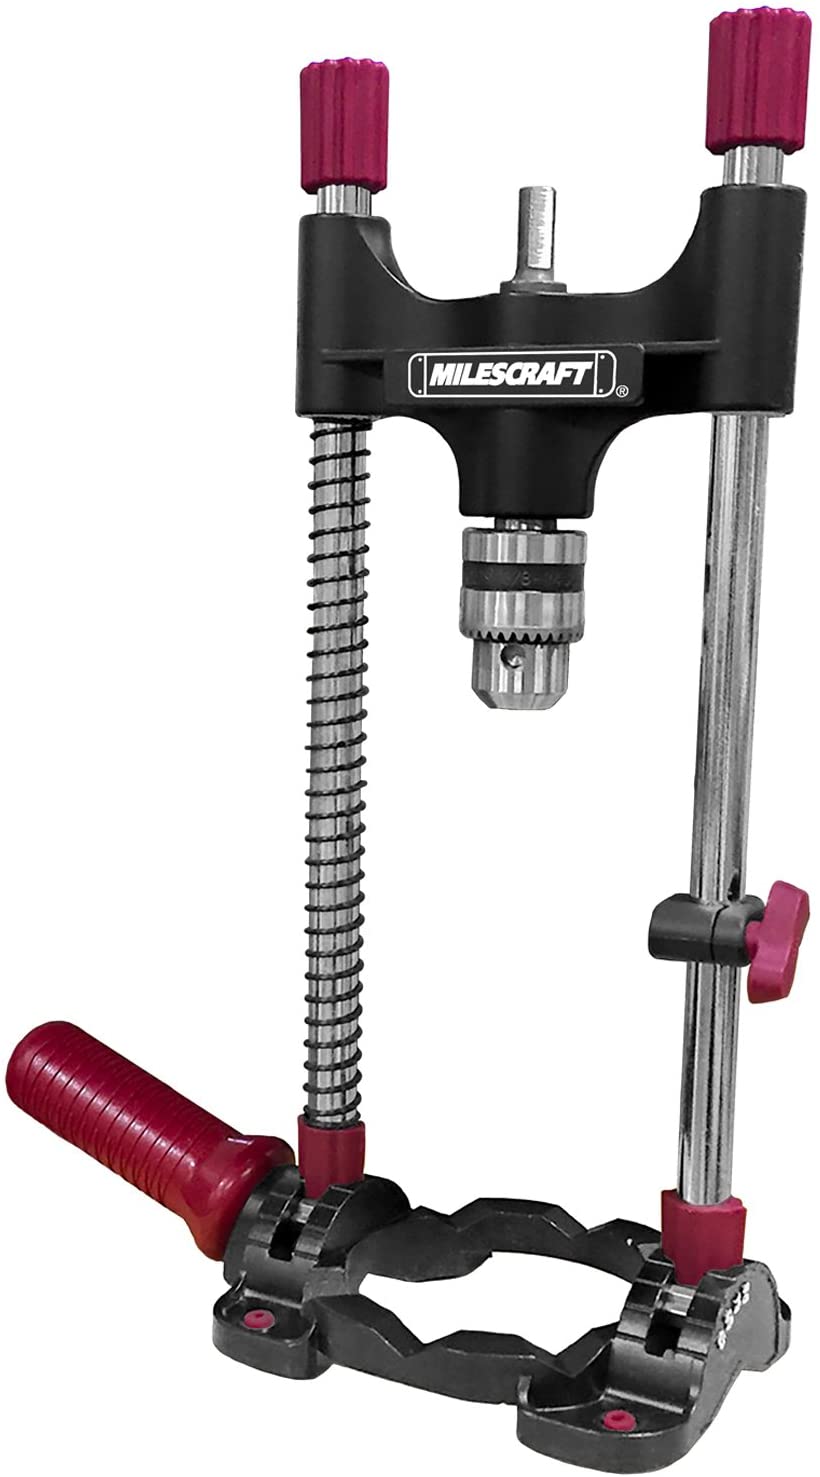
- drill guide (not 100% necessary, but makes more precise holes)
- large ruler
- sand paper
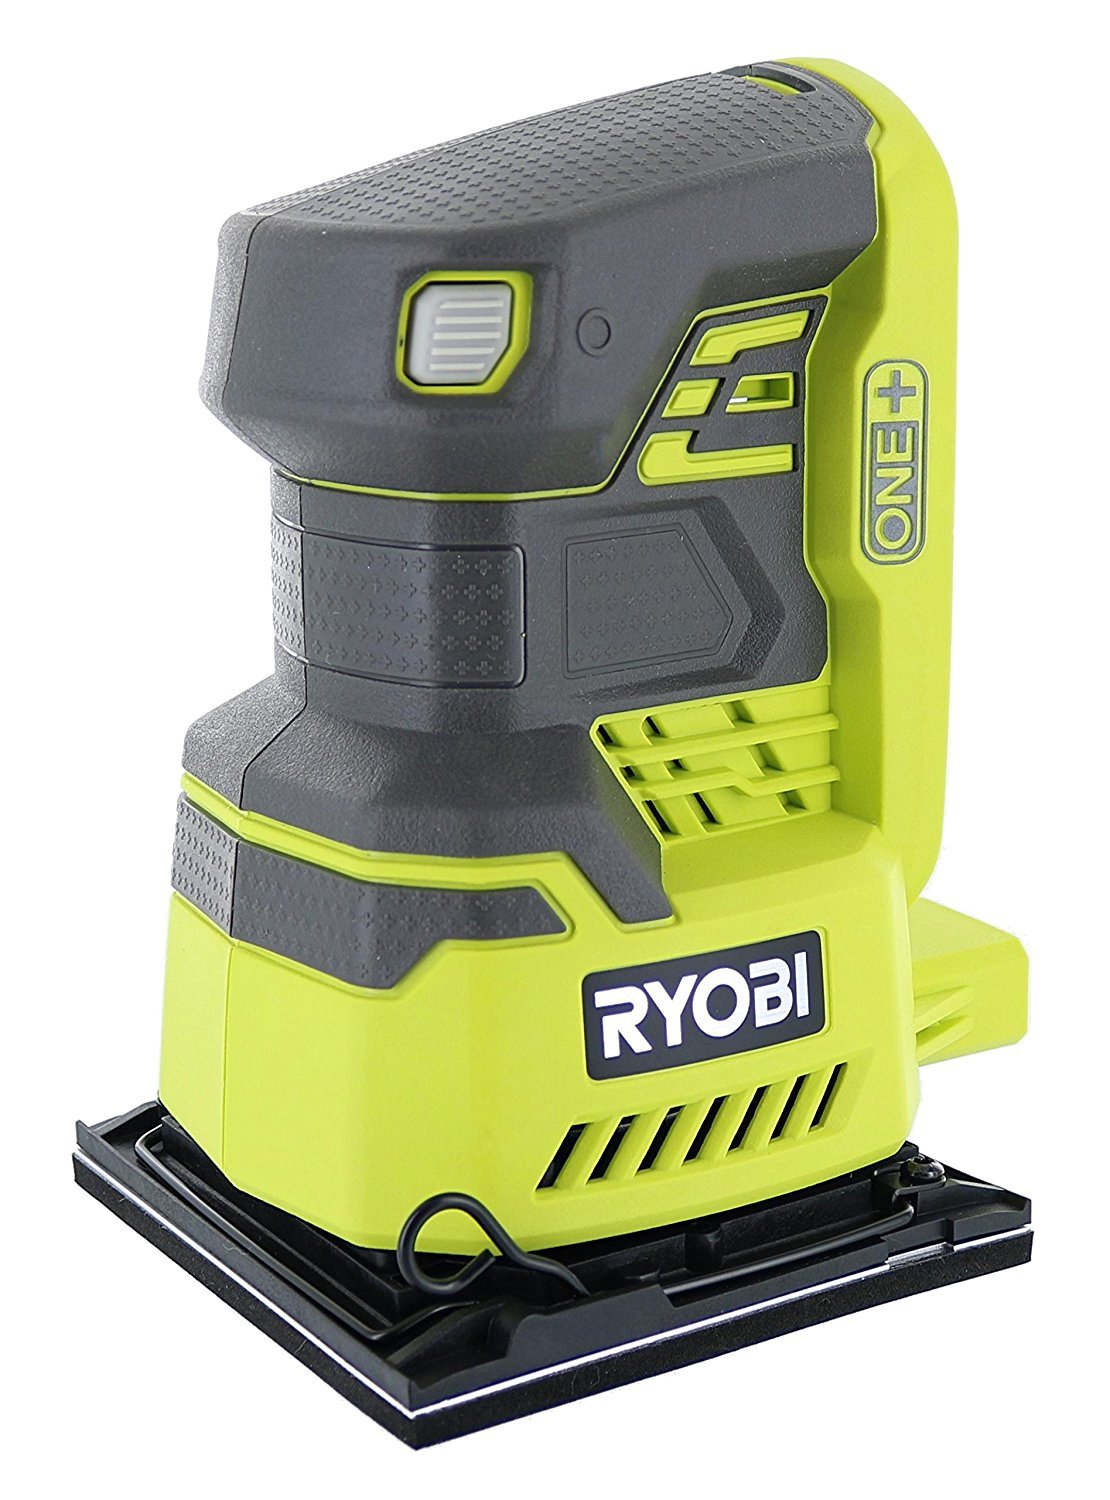
- sander
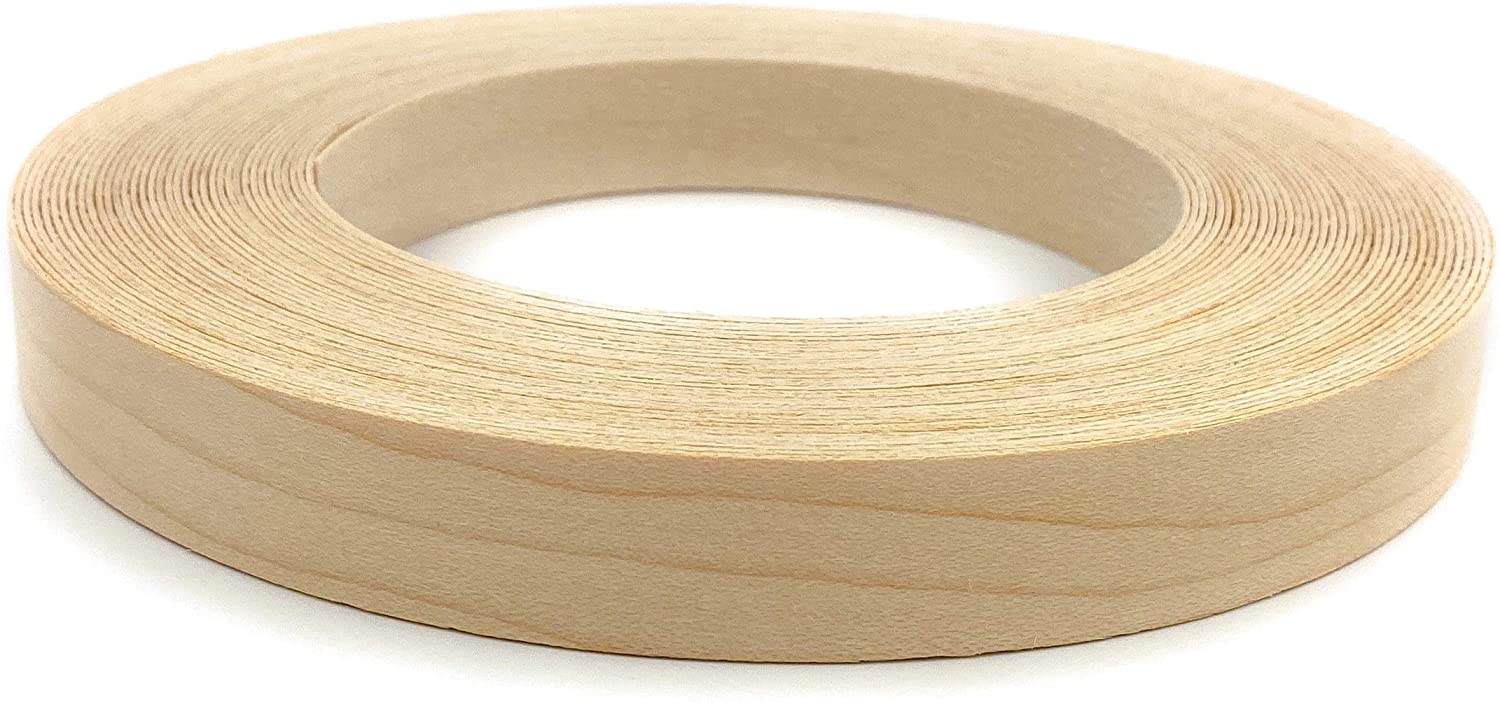
- trim edging
- iron
- mounting brackets
- screws
- level
The Process
Like I said, this is one of the easiest projects to tackle and it can easily be completed within a couple of hours. If you do not have access to larger tools, just know you can always have your wood cut down to size right at Home Depot, Lowe’s, and other home improvement stores. Also, in the trim section where you will find the dowels, they have a sweet little set up to cut the pieces down to size. In all honesty, you could simply buy the materials you need, and have the pegboard hung in an hour! Let’s tackle the whole process though now just in case you want to get your hands dirty!
1. Measure & Cut
Measure and cut your wood to desired size (this is highly dependent on your space and what you will be using this for). My finished size on my pegboard is 4′ x 5′. I marked the length and the width on the board, then drew a line with my framing ruler. Because we were cutting this with the rotatry saw, the line is needed to provide a guide.


2. Draw Grid
I’ve seen other tutorials where people purchased a large pegboard to mark the holes for their giant pegboard. Instead of that process, just draw a grid right onto your plywood. Draw straight lines going across the length and the width of your board.

Then every place your grid lines meet is where you will need to drill a hole for your pegs. The lines are faint, but you get the idea!

3. Make Your Peg Holes
There are a couple of different options for drill bits to use to make the holes for your pegs. I forgot to grab it when we first purchased the wood and did not want to go out again, so I just grabbed this 3/4″ spade drill but right on Amazon. Just make sure you grab the right size bit to match the same sized dowels you have purchased!

I also decided to grab a drill guide for this project. This will just ensure that all of the holes you drill are perfectly straight, no veering or odd angles. One of the worst things you can do on this project is get the holes wrong, then the dowels won’t fit properly (either too large or too small) because they are not perfeectly straight.

It’s super easy to put together, just a few screws and attaching the stopper. Then you just need to slide in your drill bit, secure it in place, set the stopper to the depth of your wood, and it’s ready to go. I made each hole 5″ apart, it seemed like the best (and easiest) option AND with the least amount of math involved!


Perfectly straight holes every single time! I got through making my holes on my entire grid in under 3 minutes EASILY!
4. Cut Shelves & Dowels
Who doesn’t love nice straight forward cuts? You can easily make them any size you want and having a variety of lengths will provide visual interest and uniqueness to your piece. I decided to go with shelves that were 9″, 14″, 22″, and 26″.

I used our big table saw, but you can easily tackle this with any saw you have. Better yet, have them cut right at the home improvement store and save yourself the sawdust!
The dowels were then cut to 5 1/2″. I just set the guide on the saw and ran it through for all of my cuts.

5. Sand
Sanding is the least fun part of ANY project, but necessary anytime you are working with wood. Just run your sander over the entire surface and the edges of your board, shelves, and the ends of each dowel. This will also erase those grid lines you made.

I took my sanding a step further and sanded the inside of the peg holes as well. You could easily get away with not doing this step, but I will say that it helps the pegs glide in much much easier. I just attached a little sanding bit to my Dremmel tool, wiggled around each hole a couple of times, and called it good.

6. Add Edging
This is another step that isn’t 100% necessary, but really does finish the project off nicely. Adding trim to the edges of your wood will just provide a bit more of a polished and professional look. The front looks like wood grain and then the back has glue on it that melts right onto the edges of your wood.

Just roughly measure the length needed, cut, and then affix using an iron.

It only takes a couple of swipes and the glue just melts right on. Then you just need to trim any excess off. They have a tool for this, but I actually found I was much faster using a simple blade.

7. Mount Your pegBoard
This is probably the most difficult part of the entire process and it still isn’t hard to do! We had an extra set metal mounting brackets that were used on our address sign, but you can mount using any brackets you have. If you don’t mind any screws showing, you could also drill the board right into your wall. Just make sure that you get this drilled into the STUDS in your wall since it is such a heavy piece.

We first determined where our studs were, marked them on the wall, then made sure to get at least one screw on each plate into the studs. For the other holes, we used anchors/screws to provide a more secure mount.
Once it’s mounted and up safely, you are ready for the MOST fun part of this project… STYLING!!! I LOVE how I can change this up anytime I feel like it. Because I am using this as a background for my YouTube videos, it’s going to be fun adding the decor depending on what type of video I am doing. DIY projects, home decor, tech reviews, beauty content, home organization, and the list goes on. Regardless of the content you create or the space you want to organize, this can be styled a hundred different ways. It’s SO versatile and fun!


This is actually how I had it styled first when it was first put up…

Love love love this little project. Part of me wants to make a HUGE one somewhere in our home or even the garage! The possibilities are endless!
