HOW TO INSTALL WALL SCONCES WITHOUT WIRING
Learn how to add more beautiful light to any space using a wall sconce without any electrical hardwiring needed. This quick DIY “magic light trick” will only take you 15 minutes to complete! Elevate your hom decor with a hassel free touch of light.
When I saw this sconce lighting hack circulating on Instagram amongst home decor bloggers, I knew I had to tackle it. I knew it would be easy, but boy oh boy… this is a game changer! I already feel like every space in my house now needs a DIY sconce hack of its very own! You only need a handful of supplies and the BEST part is it requires no wires, no hardwiring, so you won’t break the bank on hiring an electrician. Let’s get started!!!
SUPPLIES NEEDED:

- sconce light fixture
- battery operated puck lights
- drill or screwdriver
- tape measure
- light bulb extender/adapter
- super glue
- anchor and screws (should come with your light fixture)
- tape
- level
- batteries or rechargeable batteries
Home Depot & Lowe’s will have some basic options for light fixures and all of the other supplies you need for this DIY wall sconce project. My local home improvement stores have been pretty scarce throughout covid though, so I opted to buy everything Amazon. The downside to buying online though is not seeing your light fixture in person. The tones & colors could appear a bit off, the style may look different in the pictures, and product information might be inaccurate (size for example). Since I wasn’t being too picky about the fixtures for this particular space AND the price was right… Amazon was just SUPER convenient for me!
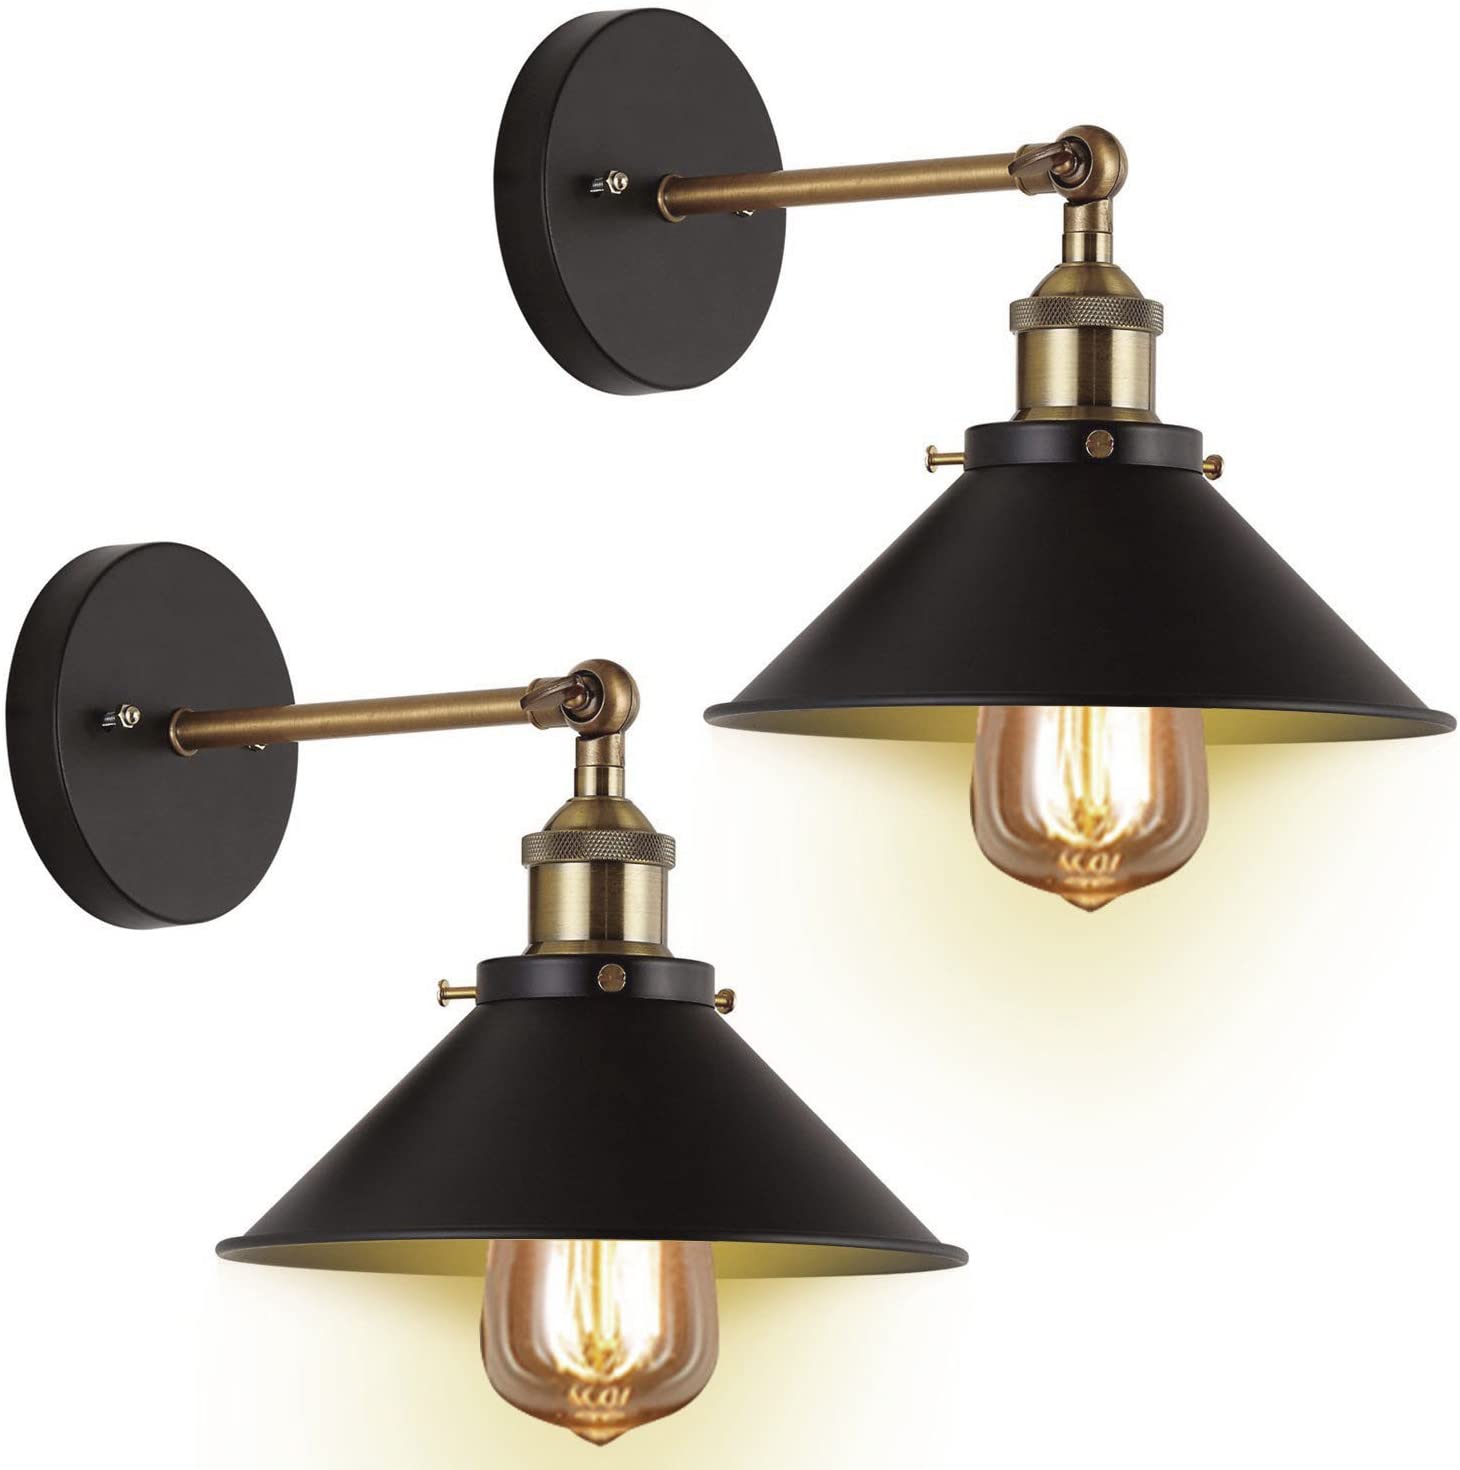
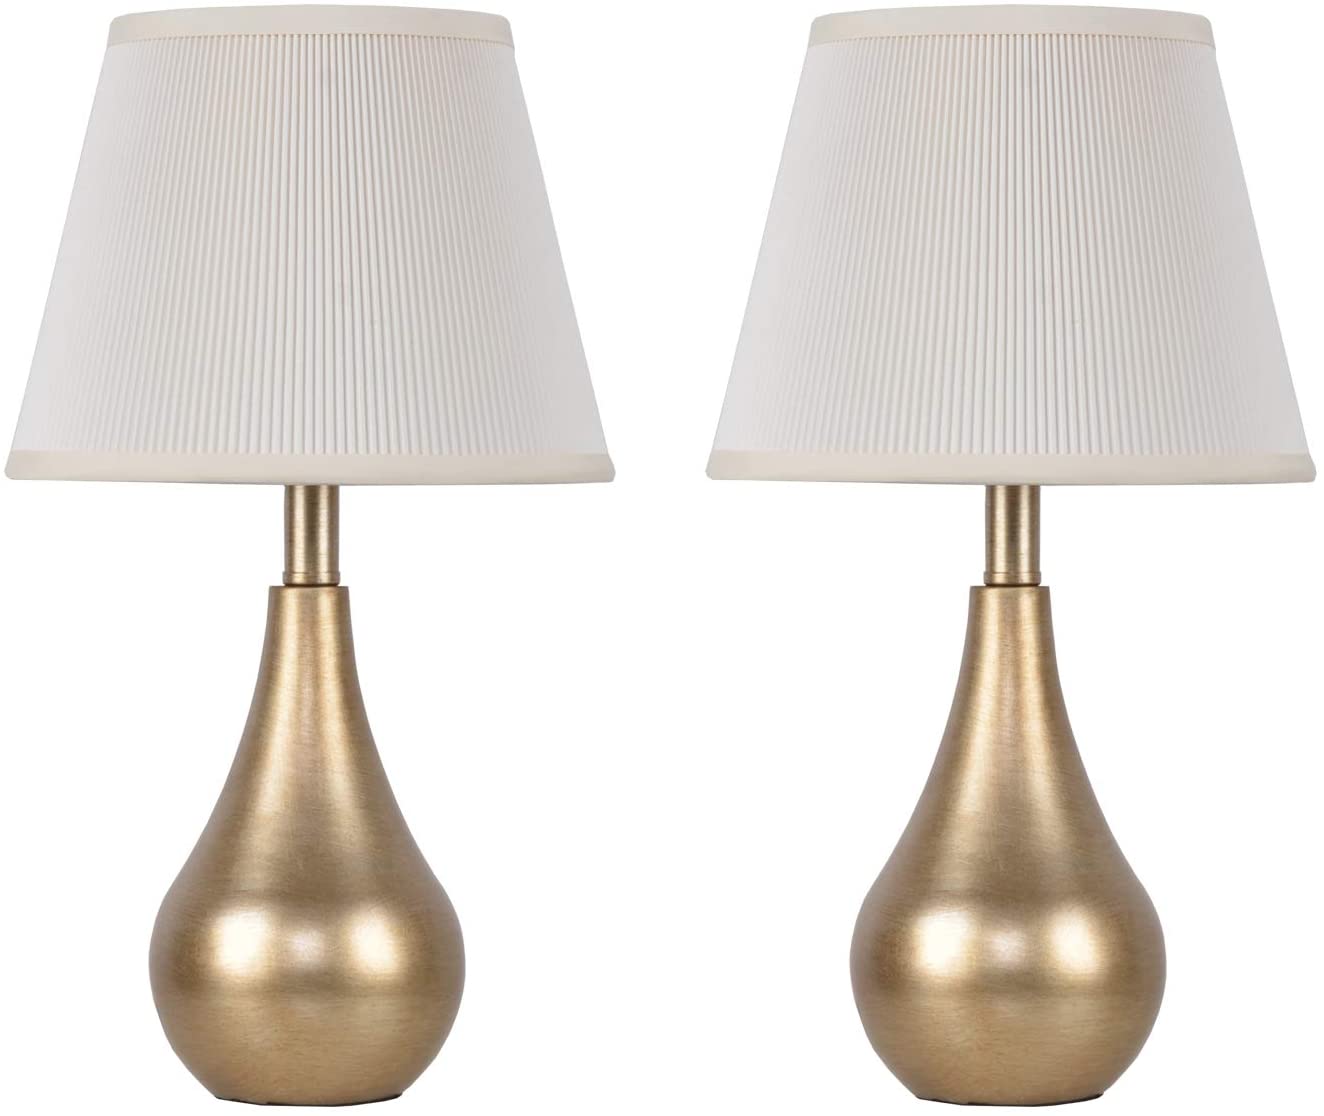
I ended up going with this 2-pack of wall sconces :

These are pretty neat because unlike other sconce lighting, they have a swing arm which allows you to easily adjust the angle (240° to be exact).
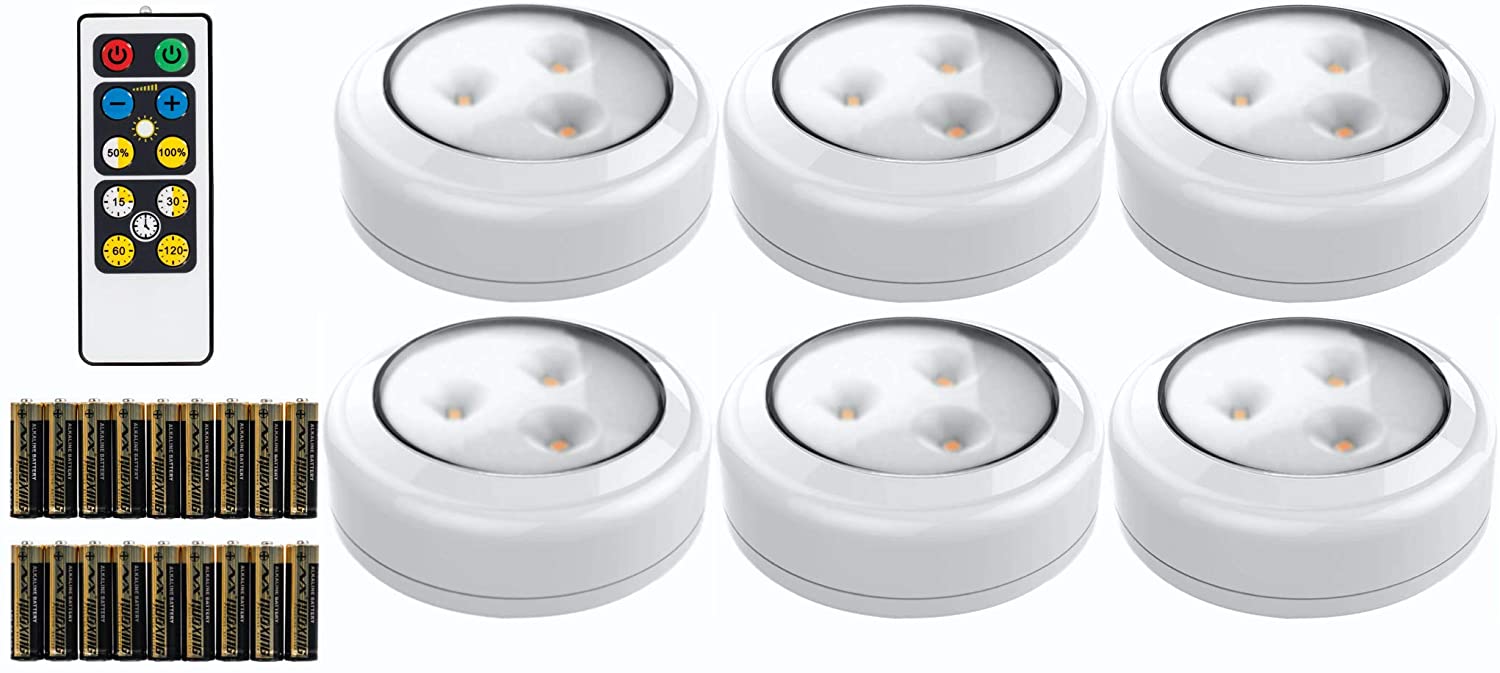
And I also bought these puck lights. In a lot of ways these are even better than regular light bulbs because they have some added features like a REMOTE CONTROL & are dimmable

In retrospect though after completeing this ridiculously easy DIY project for the living room, I should have purchased the larger 6-pack option because I can already think of 2-3 other spaces that will be getting a little lighting makeover (entryway, hallway, office, and stairway just to name a few LOL).
INSTALLING YOUR WALL LIGHTS (without hardwiring)
Ready to be amazed with this hassel free lighting hack? Let’s DIY it and get to this tutorial!
- Carefully unbox your lighting fixtures and lay the pieces out in front of you. You can either toss the light bulbs it comes with or save them for another lamp in your home. You can also toss anything and everything it comes with for hardwiring if you are sure you will never use them!
- With the particular wall sconces I picked, I needed to disassemble the plate that gets attached to the wall/drywall and attach the shade… just a matter of screwing/unscrewing the pieces together.
- Next you will need to attach the metal plate to the drywall. Measure where you want it to go in your space. Then mark the center and the holes using the plate as you guide.


- To securely affix the wall sconce, you should use the included anchors if you are not going into studs (wood that runs vertical behind the drywall). I got lucky though and these little posts in the living room have wood behind them. If using the anchors, just drill a little hole using the marks you made when measuring as your guide. Place the anchor in the hole, tap it in a bit with a hammer, grab your plate, line it up with your marks, then drill a screw on one side (75% into the drywall). Use a level to make sure its straight, then drill the other screw into the wall.


- Grab your wall sconce and affix it to the plate. Simply line up the holes with the other screws coming out of the plate. Screw the little bolts on to complete!


Now it’s time for the magic light trick portion of this tutorial. Remember no hardwiring, no plug-in, 100% CORDLESS!!!
- Grab your puck light and put in your batteries. Replace back cover and make sure it’s securely closed.
- Place some super glue on the back of light bulb extender/adapter (the plastic portion) and affix it to the back of the puck light. I have also seen people use velcro to attach as well. Ultimately the option you use will heavily depend on your sconce light fixture. If the area is too narrow or shallow, you will have to use the adapter. Sometimes though you can just mount the puck light directly onto the shade.


- Once the glue is dried and completely secure, just screw the whole thing into the light socket in wall sconce. Such a glorious EASY TRICK huh?

- You may have moved the shade a bit when installing the puck light, so just level it out again if needed.

VIOLA! Your EASY DIY lighting is ready to go. You can either press the puck light to turn them on OR use the remote control. Depending on the mood you want to create in your space or to match the feel of your home decor, reduce the light capacity on the dimmer option. Love having the option of a dimmable light!


How neat is this little DIY project? I consider this a total game changer when it comes to lighting the spaces in your home. You can elevate any of your home decor using this magic light trick. I’m pretty sure it’s time to hit up Lowe’s to see what wall sconces I can install next… the EASY way of course. I have a gallery wall using art that needs to be lit up and a couple of large bookcases that could use this lighting hack. This blogger is obsessed already!!!

