This project was very special to me. It was the VERY first in this new adventure that I wanted to complete all by myself (for the most part anyways). I almost treated it like a surprise to and kept withholding information and ideas swirling in my mind from Joe (my husband). I had a very clear vision of what I wanted this space to look like and didn’t think it would be difficult to achieve. A couple of hundred dollars, a few days of work, some blood-sweat-and (probably) some tears. The look I was going for was a farmhouse, a little modern, a little boho, AND a little bit classy. This seems to be the theme of my aesthetic! The space turned out to be 99.999% of everything I had envisioned!


Rule #1 in DIY: things will NOT go according to plan
I am thrilled with how it all turned out, but boy oh boy were there lots of hurdles to overcome along the way. How about YOU learn from MY mistakes???
First things first, do NOT lay your tile first. In my mind I didn’t think it would make that big of a difference, but hindsight is always 20/20. Work on your CEILING first (face palm Emoji here)…
Things I absolutely HAD to have:
- shiplap ceiling with beams
- green on the wall
- new tile
I had dreams of shiplap going on the ceiling. This would be the main “feature” and star of the bathroom. If I could pull it off, it was going to be the show stopper so I was not going to bend on giving it up. Unfortunately, the ceiling was the cause of me needing Joe and for the headaches we both had figuring things out.
Let’s dive in shall we???
SHIPLAP CEILING & BEAMS

This was the most difficult part of the project, but that’s expected when it’s also you main feature. In the end, it turned out eaxctly how I wanted. This is how we completed it:
- mark your studs on the ceiling
- measure and cut boards (length of your area)
- attach boards (I used screws to go into the studs and along the perimeter/edges)
- TRICKY… once you get to the vent and lighting fixture, you will need to hurt your brain and make some cuts. I took a piece of paper and outlined the hole/cut out.

- Next I measured the length between the wall & the hole, marked the starting point on the board, traced it onto the board, then cut it out. I repeated the same process for the vent and our sprinkler (yes, we have SPRINKLERS in our house because we #1 are in California and #2 in a high risk fire area).


Surprisingly, we got it right on the first try! We did need to sand and shave down the edges of the cut out a bit, but it worked. So satisfying!!!

Time to build the faux beam boxes. I would have just built the boxes with no cuts, but Joe insisted on mitering the boards for a cleaner result.
- miter the sides of each of the boards you are using to get rid of the “lips” on the shiplap
- glue edges
- form boxes
- nail into place
- fill any holes or gaps with wood filler
- sand down
- let dry completely
- screw into place


I adore how it turned out. The new ceiling adds so much interest and uniqueness to the space! This was worth the blood, sweat, and tears. I could look at it all day long!
shiplap ACCENT WALL
This was the easiest portion of the bathroom reno to complete. Start to finish, I think I wrapped this up in about two hours MAX… no joke. It helps that the cuts were all straight and the shiplap was only being put on a small portion of wall! I love how simple this was to do. I think it took me a total of 30 minutes to get the boards cut & on the wall, 10 minutes to fill/sand holes, and then 15 minutes to paint.

Here is what I did:
- Remove existing baseboards & any existing on the wall
- Mark any studs
- Measure & cut boards
- Add adhesive (Liquid Nails) to the back of shiplap
- Nail into wall
- Fill holes (Drydex)
- Sand & Paint


Paint was where the magic happened on the shiplap. Originally I picked out a pale gray to use, but my heart was aching for a BOLD wall feature. I thought about doing black, then changed my mind when I realized the space needed a bit of color. This shade of green from Behr is just the right amount of pop, not too dark, not too bright or saturated. It’s gorgeous and I am in LOVE.

Last thing I did on the shiplap is add some cute wood hooks. The wood on them is natural and beautiful, but I opted to stain them to match the rest of the wood in the space. Obsessed with this and I could stare at it all day.

Vinyl tile FLOORING
Floors were also fairly simple, but were kind of a mess to deal with. Like I said, learn from my mistakes! Because this project was supposed to be on a bit smaller scale (and budget) I didn’t want to rip up the existing tile. I thought about painting it and using a stencil, but was scared about how durable that would be. This is our downstairs bathroom and gets the most use in the house.
I ended finding a really neat vinyl tile at Lowe’s. Looked easy enough and surprisngly the quality is really good. It’s also SUPER affordable at $0.99 a piece! They come in both white marble and black.
- Gather your supplies (vinyl tiles, a bucket, trowel, grout float, adhesive, grout, spacers, and a sponge)

- Roughly lay out your tiles to decide where your pieces will start
- lay tiles (these come with adhesive on the back, but I wanted to make sure the floor lasted so added in a bit of Stick-N-Stay)
- for the most part, you should get a decent amout of full tiles down, but for the trickier areas you may need to hurt your brain. I used two methods… #1 using handy gauge duplicators and then and #2 making small tracings/ stencils. Both worked ok, but I think the stencils were just easier and hurt my brain less.


The finished space
Last step in the project was to style it, the BEST part of course! Here is the finished space in all of its glory.


BREAKDOWN OF COSTS
Shiplap Ceiling $129.18
- boards $7.98 x 15=$119.70
- screws=$5.98
- toggle bolts= $3.50
- scrap wood for beams= FREE
Shiplap Accent Wall $148.44
- boards= $7.97 x 14= $111.58
- paint= $12.98
- wood hooks= $23.88
Flooring $84.21
- vinyl tiles= $0.99 x 53 = $52.47
- grout= $11.48
- Stick N Stay adhesive= $13.48
- Krud Kutter (this stuff is GOLD for cleaning up anything sticky or hard to remove)= $6.78
EXTRAS & Accents $94.01
- black spray paint (shower hardware/fixtures)= $3.98
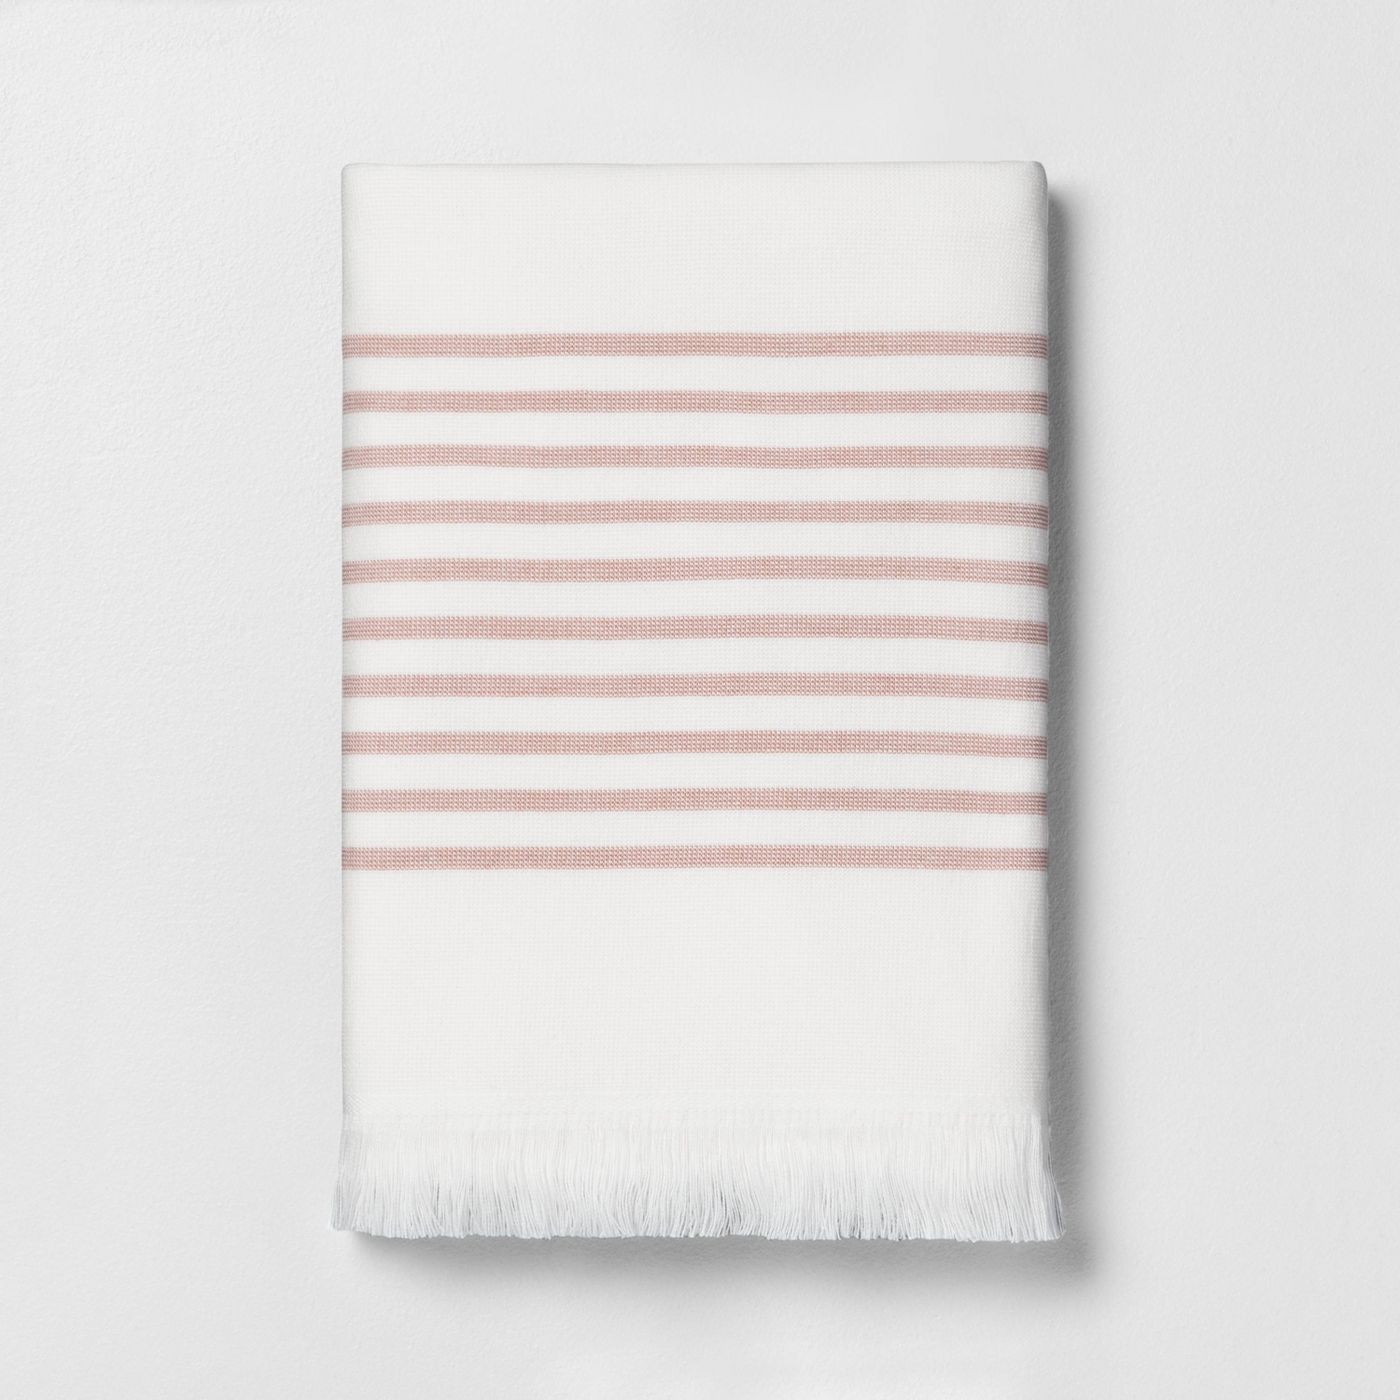
- towels= $17.99
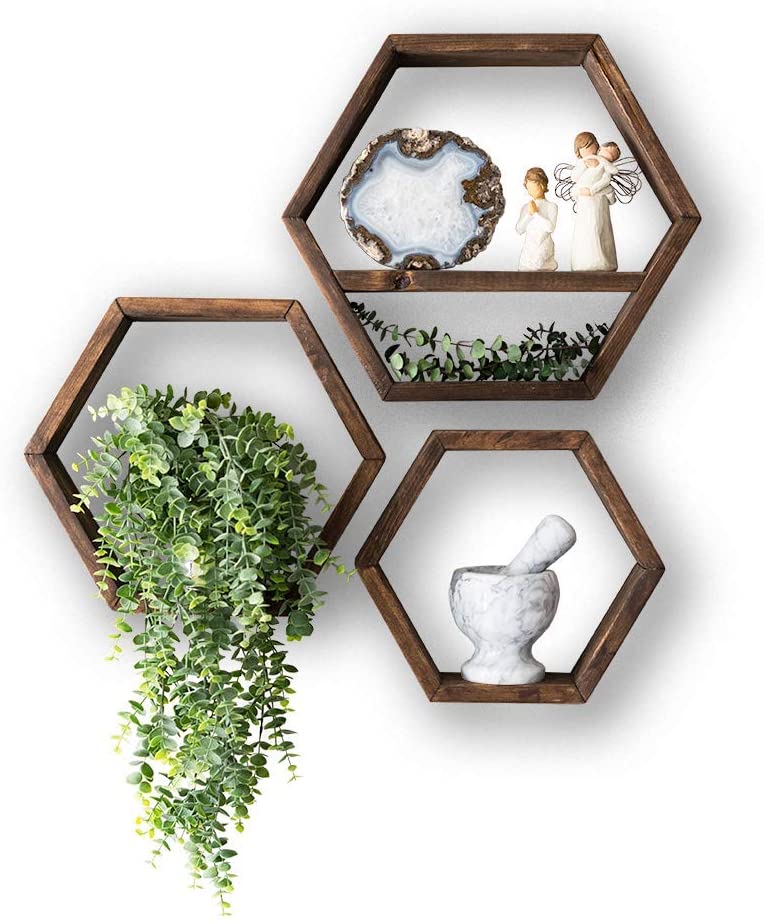
- wall basket= $19.98
- hexagon planters= $30.57
- pink flowers= $3.50
- amber jars= $17.99
