This DIY step by step tutorial for a modern address sign is the perfect weekend project to tackle. This unique plaque is simple to make and will give your home great curb appeal!

The moment we finished painting the exterior of our house, I already knew a new DIY address sign was in my future. The builder of the homes in this community put on the TINIEST address fixtures and in the most odd locations (way off to the side of each house). Anytime packages come, I always notice the delivery people struggling to find any address numbers or a home number sign. I thought it would be a great idea to do a solid for hard working delivery people and at least make my home easy to find… you know, because missing out on a package would be devasating (1st world problems, I know).
Now that the exterior of our home is so bright and fresh now with the creamiest white I could find, this address sign needed to POP. Must haves for this DIY home number sign:
- natural stained wood
- black frame
- modern house numbers
I also really wanted to try and use up some of our scrap wood and other materials we had on hand. We may have saved over $4,000 painting our home exterior by ourselves, BUT I’m anytime I can save a few dollars… I will. What we had on hand:
- 3/4″ plywood
- wood conditioner
- wood stain
- black paint
So the first step in this project included a trip to the hardware store to grab what we did not have:
- thin wood sheeting (for pattern)
- trim
- modern house numbers
Once I had all of my materials, it was go time!
Materials & Tools Needed:
- 3/4″ plywood or fiberboard (this is just the base/back of the sign and won’t be seen, so the least expensive option will work)
- 1/4″ wood sheeting/project panel
- 1-1/8 in. x 1-1/8 in. x 96 in. Wood Pine Moulding
- address numbers
- wood stain
- wood conditioner
- wood glue
- black paint (I used Sherwin Williams “black magic”)
- miter saw
- circular saw or table saw
- wood sander
- drill
- wood screws
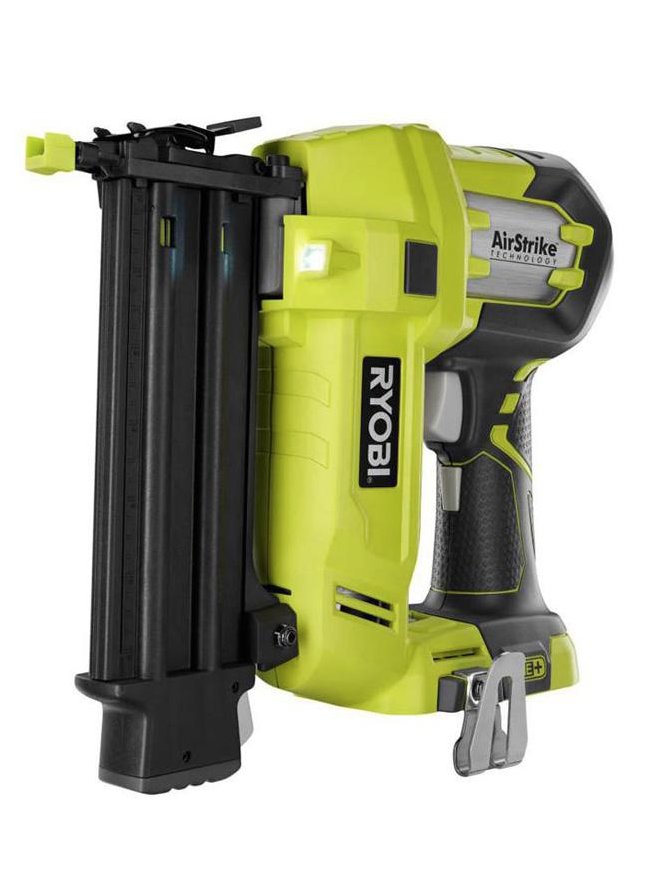
- brad nailer

Step By Step Tutorial
This project came together SO fast. If I wasn’t filming and shooting while making this little DIY house number sign, I would have it completed within a few hours easily! Let’s go!!!
STEP 1:
Decide on the size of your sign. This will be completely dependant on the space you are putting this DIY project on. My sign was going just off the front porch on a little pillar that is about 3′ wide. I thought it would look great here because it’s just about near the center of the exterior AND in a great location to be seen from the street. If you are flexible on size and rather use my measurements, I cut my base/plywood to 30″ x 12″.
* Make sure to account for the trim piece encasing the address sign, by adding a 1″ border on all sides, but specifically at the top/bottom *
Once you have your measurements completed, just cut it to size.


Step 2:
To make the pattern on the front of this address sign, you will need to cut the project paneling/wood sheeting. The length of these won’t matter too much since you will be fitting and cutting them down next with the miter saw, so just cut on the ling side so you have less pieces to work with. I did 3″ pieces.

Step 3:
Draw lines down the center of your base piece (length and wide). This will give you the starting point for the pattern.

Step 4:
Dry fit your paneling pieces just to see how many you will need to cover the base. Cut your project paneling down to size. You will need to use the miter saw to create the angles, but don’t be intimidated… this part goes by quick because you only need to cut one edge. The outer edge won’t matter too much because you can trim it all later on. Just use 45 degree angles on half of your pieces, /-45 degree angles on your other half.

Dry fit your finished pieces onto the board just to make sure everything can line up properly.

Then you just have to glue your pieces down. When you get the top/bottom you will be left with a couple of odd angled pieces that need to be filled. You can use one of the scrap wood pieces from your cuts for this. Just fit it on the piece you need to cut, then draw your cut line on the BOTTOM side of the paneling to make your template.

Once the boards are completely dry, just flip the address sign over (paneling on the bottom) and use your rotary saw or table saw to trim and level it out the edges.


Step 5:
This is probably going to be the most difficult part of this DIY project because it involves some critical & logical thinking. Not my strongest attribute because I’m not a right brain thinker! Basically, you just need to make sure that you are cutting your angles the right way. To make sure I remembered how and which way to cut was marking how the trim would lay on the address sign: top and side.

Step 6:
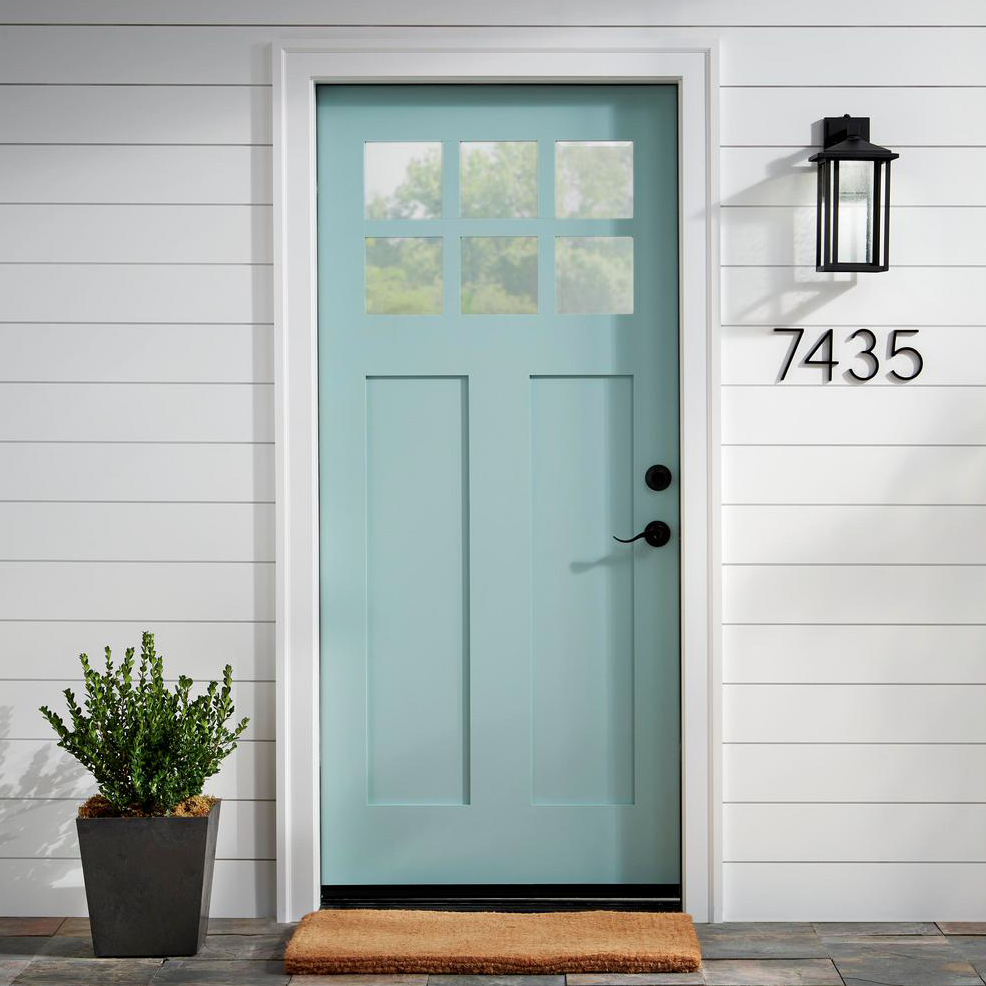
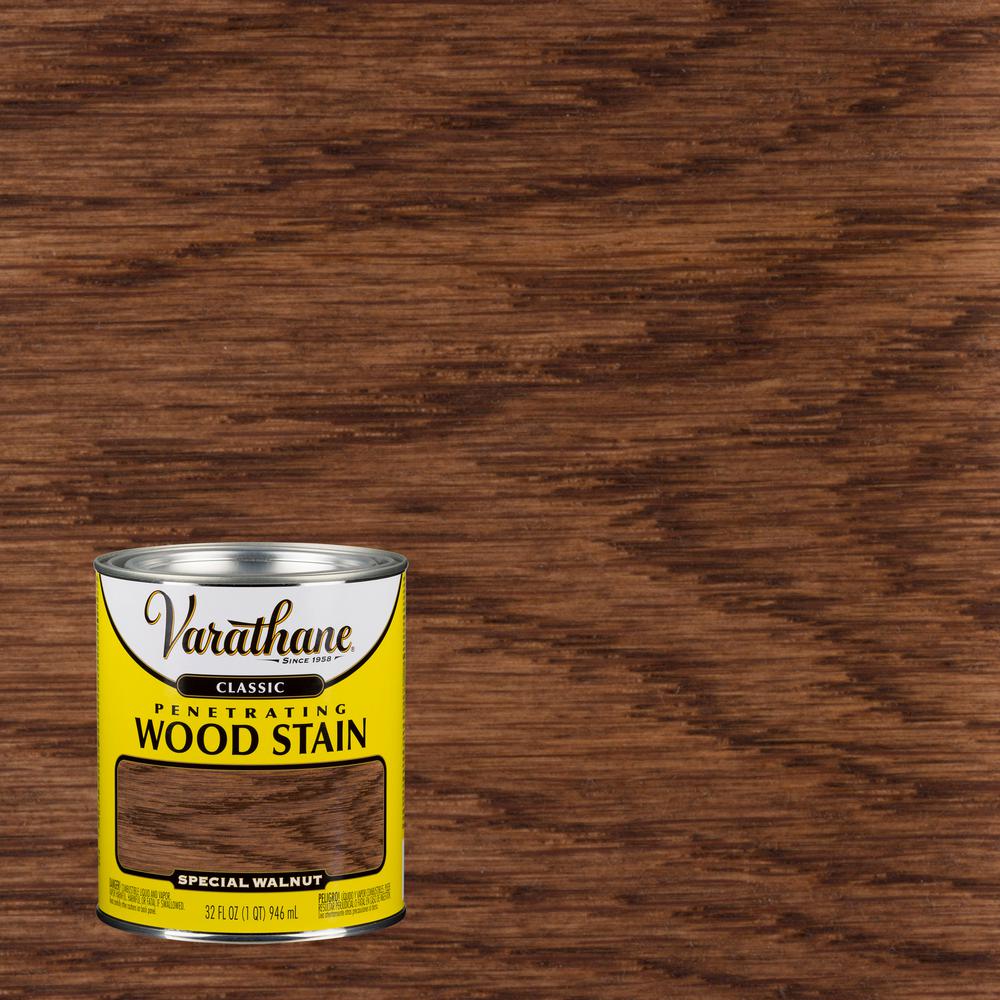
Sand, wipe down, stain, & paint! You can make this any color you like of course, but I really wanted this house number sign to POP. I opted for staining the pattern boards and painting the trim black. Again, because our house is now painted a brighter, creamier white I wanted to make sure it gave great curb appeal and could be seen very well from the street.
Pre-Stain- Minwax
Stain- Minwax “special walnut“
Paint- Sherwin Williams “black magic” (same paint as our front door and garage doors). If you are using previously used can, just be sure to use a paint stick to stir it properly.

Step 7:
Glue and secure trim onto. We used Liquid Nails, wood glue for the ends, and a brad nailer just to reinforce & finish it off.


Step 8:
You are in the stretch here!!! All you have to do is affix your numbers onto your house number sign and your ready to hang it up.
The packaged numbers come with these screws, but they are not long enough to go through the address sign. We just grabbed some instead 1-1/4″ screws at the home improvement store AKA an adult DIY candy store 🙂


Measure the distance between each of your numbers to make sure they are all even. Mark the top of each number. The hole on the backside is just slightly below the top (measure that distance as well when you go to drill). You won’t need to deal with any drill bits, just the “screwdriver”.

Then you just have to screw the numbers onto your address sign! You will go from the back with the screw INTO the numbers on the front.

Step 9:
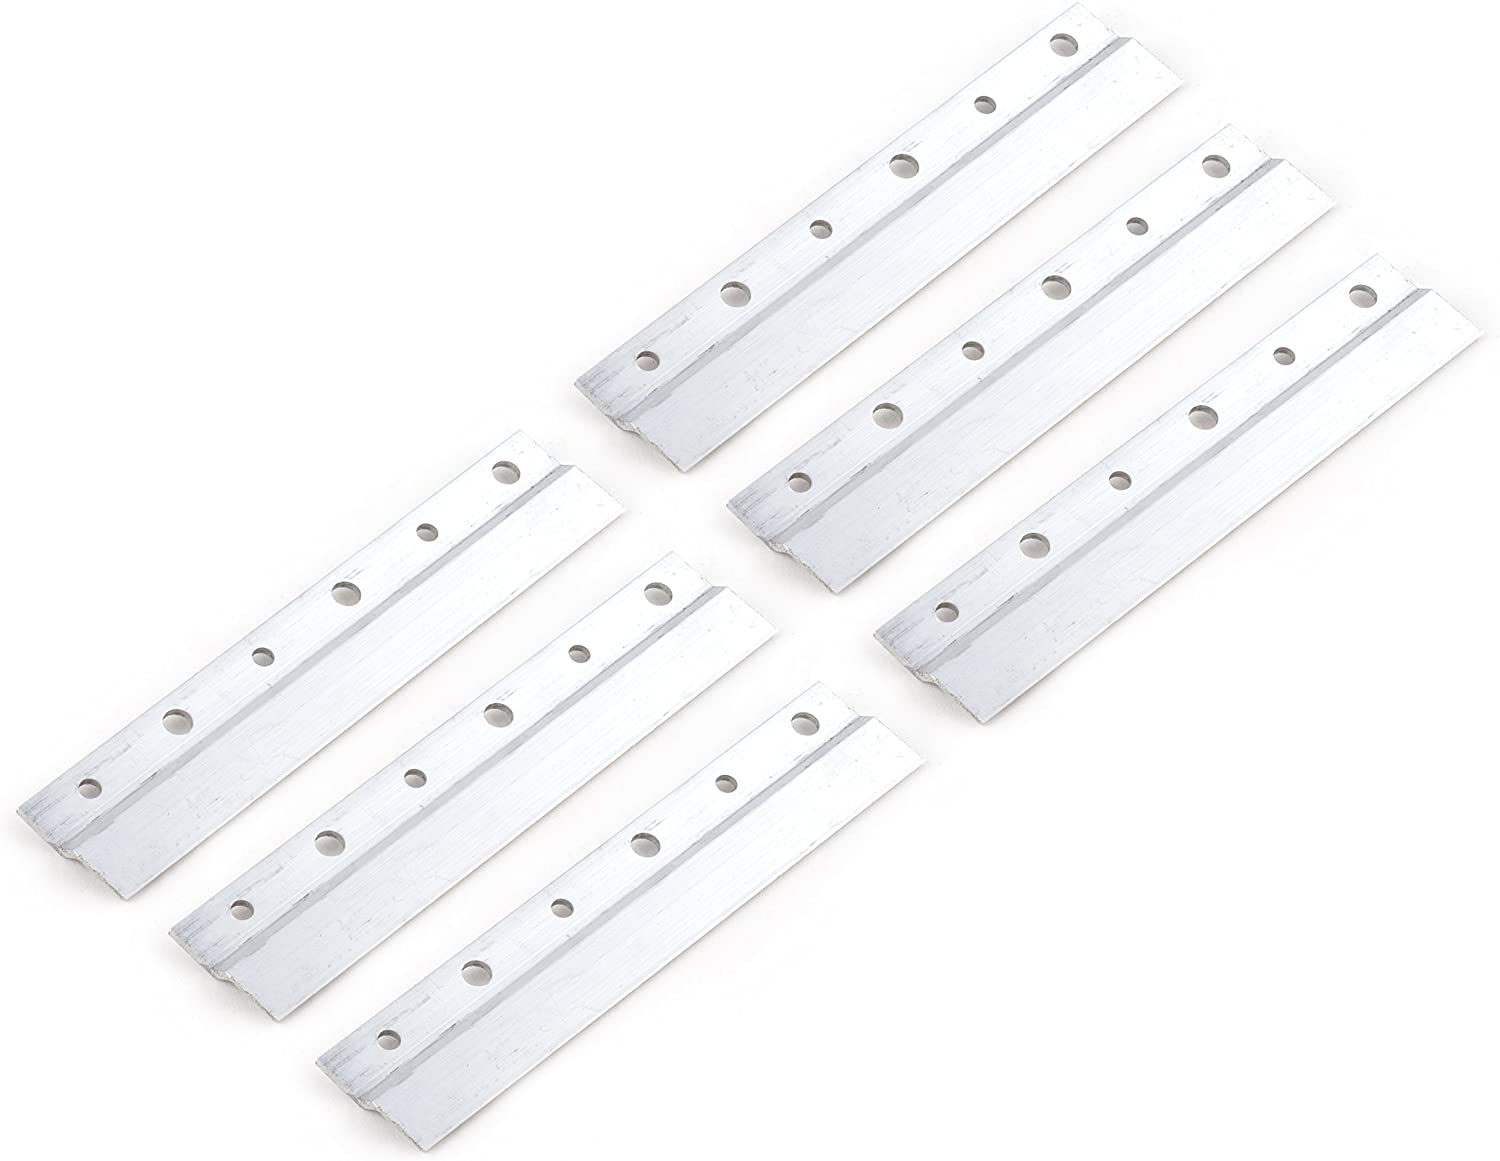
Now you just need to grab your hangers and affix them to the back of the address plaque. We had these from Amazon that we grabbed for another DIY project:
Just screw one of the plates onto the top of your address sign, make sure it is level and centered, then the other piece gets screwed into your wall/stucco!


Project COST BREAKDOWN:
Wood Paneling- $7.20
Wood Trim- $10.32
Address Numbers- $33.80
TOTAL: $51.32
Everything else we already had on hand! The numbers are going to be the most expensive item for this project. They sell lots of different numbers are your local home improvement store, but you can also find them on Amazon and even on ETSY if you want something more unique or a specific size.
This was such a quick & easy project idea to complete. I also feel like its a good beginner DIY project as well. This house address sign is a little bit modern & a little farmhouse style, but you could easily change it to make it more vintage (reclaimed wood would make this even cheaper if you have it)! I also thought this would look AWESOME as a little mongram sign!!! Lots of possibilities to change this project a bit more to make it truly unique and fit your own style!
