small pantry organization ideas that really work for 2021
Organizing a small pantry is a much easier task than you think. With a little creativity and these tips, you will be well on your way to having the functional DIY pantry of your dreams!


One of the most anticipated projects I wanted to tackle at the beginning of 2021 was organizing the entire house. However, as much as I would have loved to dive into all the nooks and crannies of our home, I knew I would need to break my projects up. This way it would be far less stressful and overwhelming. I decided it would make the most sense to start with the kitchen cabinets since those are used the most often and to be perfectly honest… so disgusting to look at! It sounds a bit odd, but this is actually the first time in the 15 years we have owned this home that I have really tried to fully organize this space. In the past I have added some baskets and bins here and there, but it never looked how I envisioned in my head. This time though, I was going all in, WITH a plan and I’m so excited to share it with you now!
Step 1:
Open up ALL of your cabinets and see what you are working with. You can either get a mental picture of how you want to organize your space OR better yet, write/draw out your plan! Get organized on paper by breaking everything up into sections:
- dry goods
- canned goods
- chips
- snacks
- breakfast foods
- baking items
- spices
- sauces/marinades
- drinks
- nuts/seeds
- etc.
Once you have an idea of everything you have, everything that needs a (new) permanent home, and where you want to house it all… the hard part is really over.
Step 2:
In order to see exactly what you are working with, what needs to be organized, and how to tackle any space properly & efficiently you must remove it ALL and start with a blank canvas. Before you tackle this though, just keep in mind that things will look a LOT more chaotic and messy before it gets any better! At some point during this step, you will think to yourself “WHY did I ever decide to do this project?”. Fear not friend… that is temporary and things will start coming together very quickly!
So first things first, remove EVERYTHING from the space you are trying to organize. As you remove things, organize them into piles:
- trash
- keep
- relocate
In order to tame the chaos slightly, I worked on each shelf one or two at a time. Once everything was taken out and put into my piles, I would clean the shelf off by vacuuming all of the crumbs and larger debris, then would spray/wipe it down.


Step 3
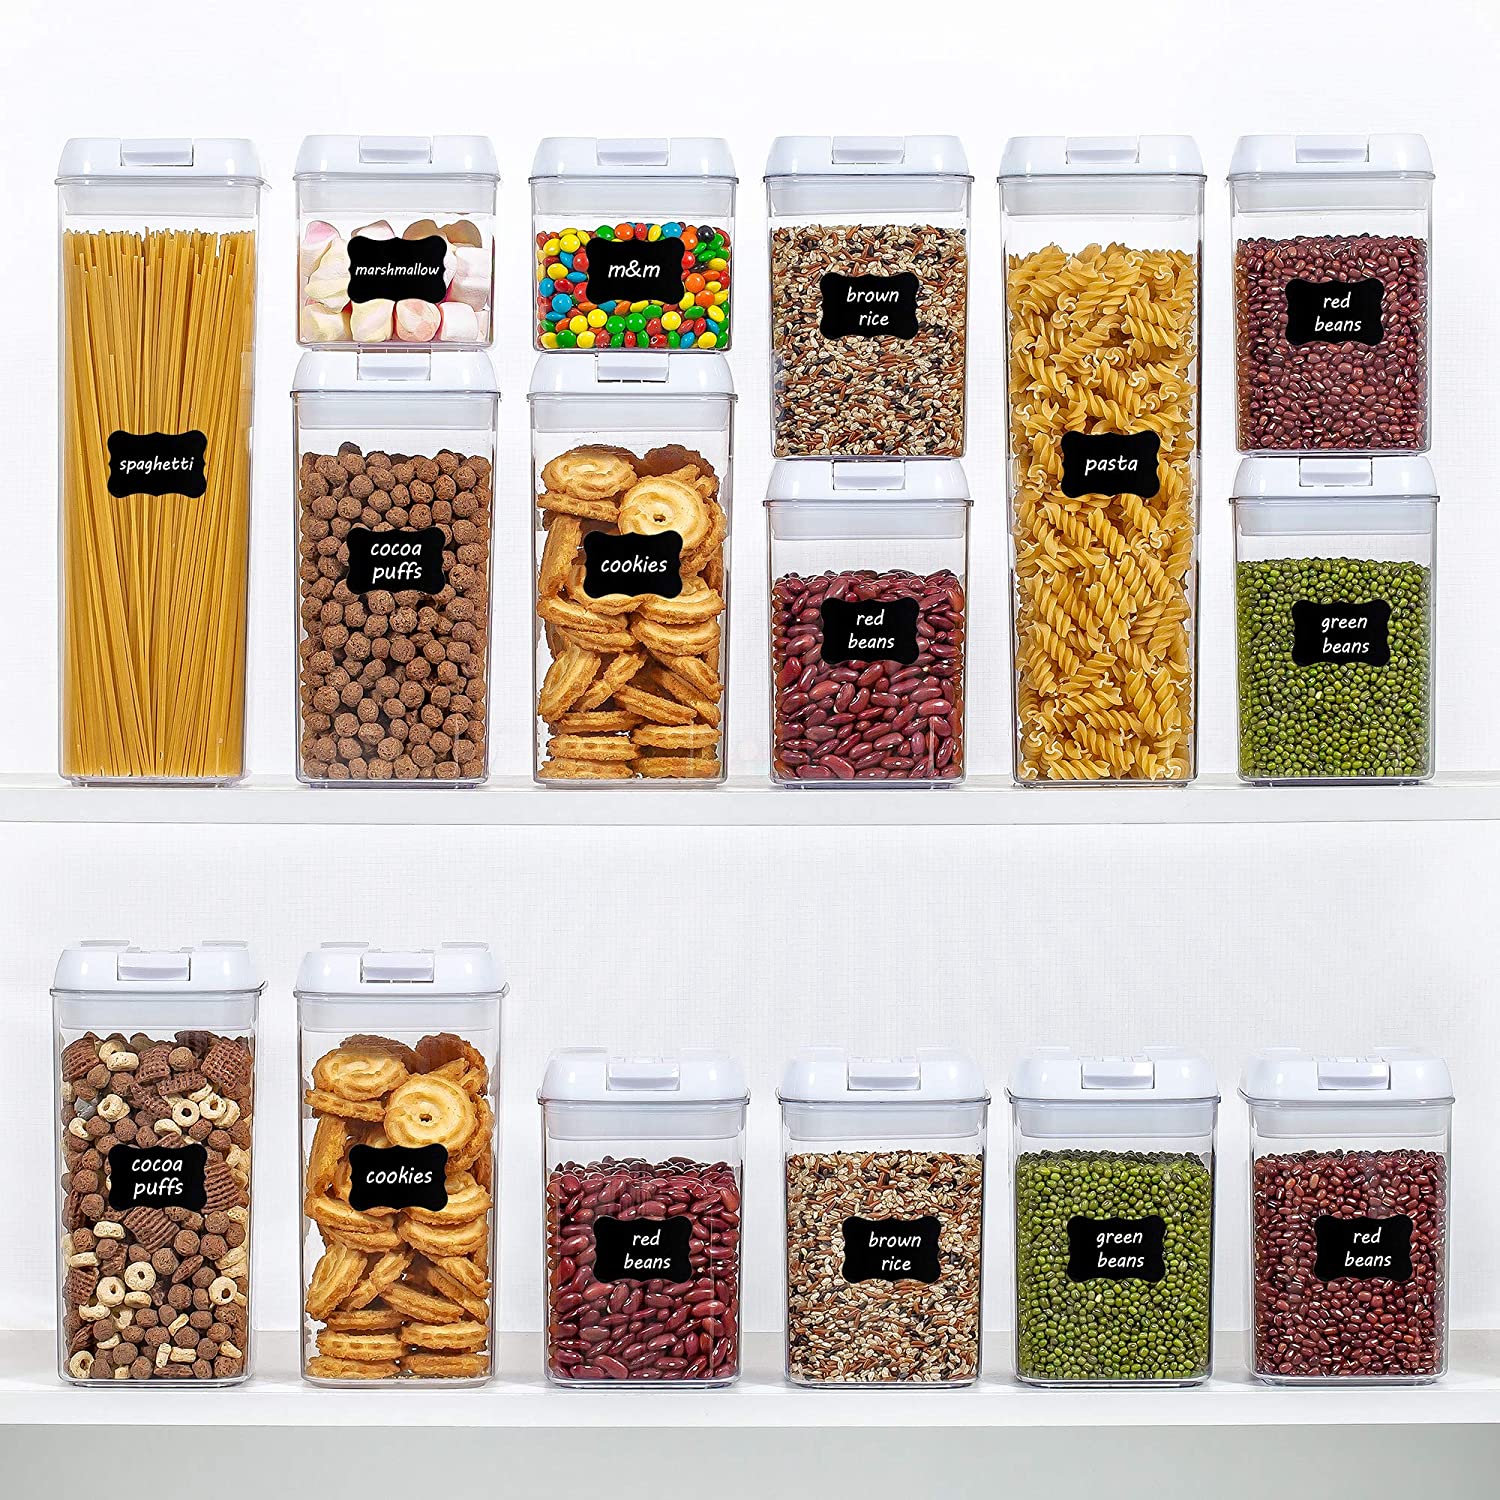
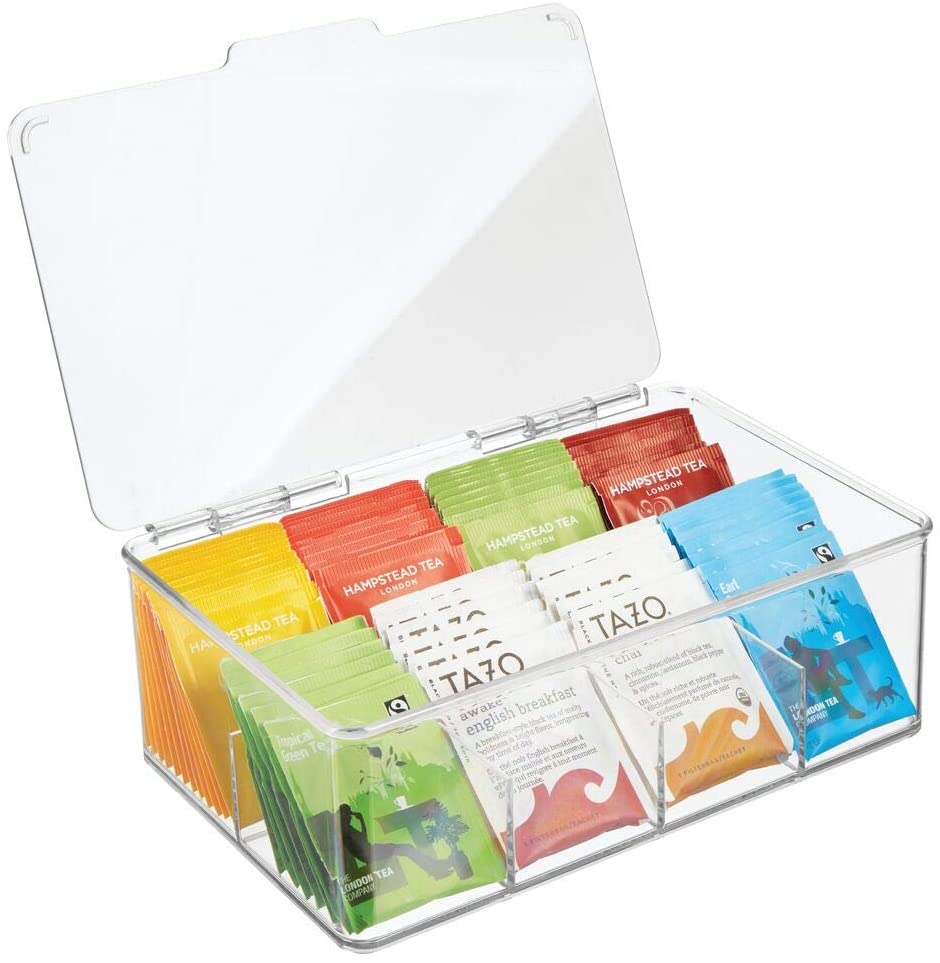
This is where it gets fun… new storage containers, bins, jars, and all the actual organization happens!

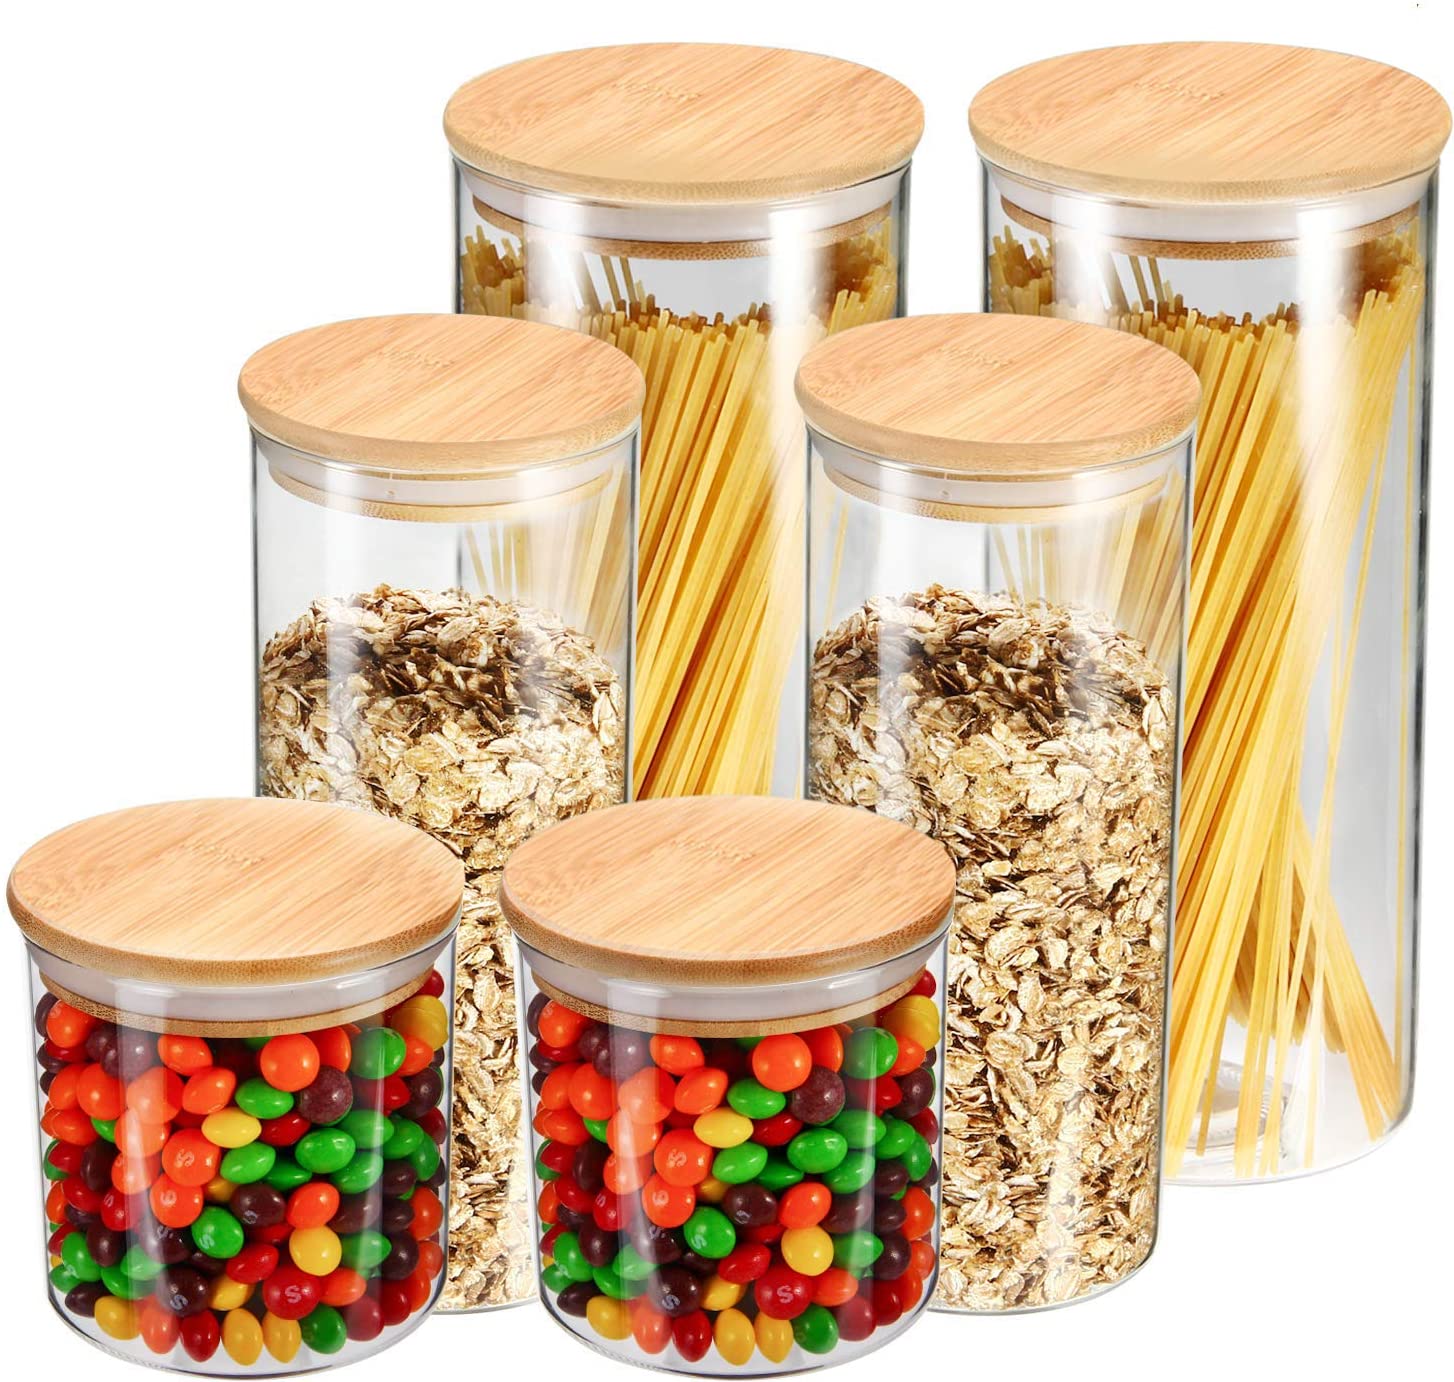
Before you actual get to filling up your containers though, think about what should be placed in what. You don’t want to have a lot of extra bags and boxes of remaining items, so try and pick your containers accordingly. The last time I attempted to tackling this pantry, I had purchased some containers, shelf liners, and jars so I was a bit ahead of the game. However, I was going for a specific asthetic so I did purchase some new food storage items (I’m in LOVE with the wood topped glass jar ones… FAVE for sure)!
Some people would second guess spending money buying jars & clear containers, but I can’t tell you how thankful I am for them. Not only does it make everything look so much cleaner and organized, but I after a few week snow I am also seeing MONEY being saved. Before this organization, we would have bags and boxes everywhere. Nothing had a proper place and things just got pushed to the back and sides of each shelf, eventually just spoiling and/or getting stale. With a certain numner of containers for each specific item (chips, cereal, granola, etc.), I know exactly how much I have of each product and NOTHING gets lost. I can refill as needed and far less impulse buying at the grocery store. Aesthetics are my favorite, saving money is my second favorite thing about this makeover!
One thing I did do with the existing jars I already had was spray painting the lids. I can’t tell you how big of a difference this made. I hadn’t intended on doing this, but once I had the jars up with the old silver lids, they just didn’t pop enough for me. Spray painting just the lids black might be one of my favorite parts of this project! Black spray paint is magically!


Step 4
Labels, labels, labels! If you are anything like me, any chance you get to be a little extra and even more aesthetic… you take the opportunity! Would the pantry be just as organized and lovely without them? Yes, BUT they are even better when you add labels!
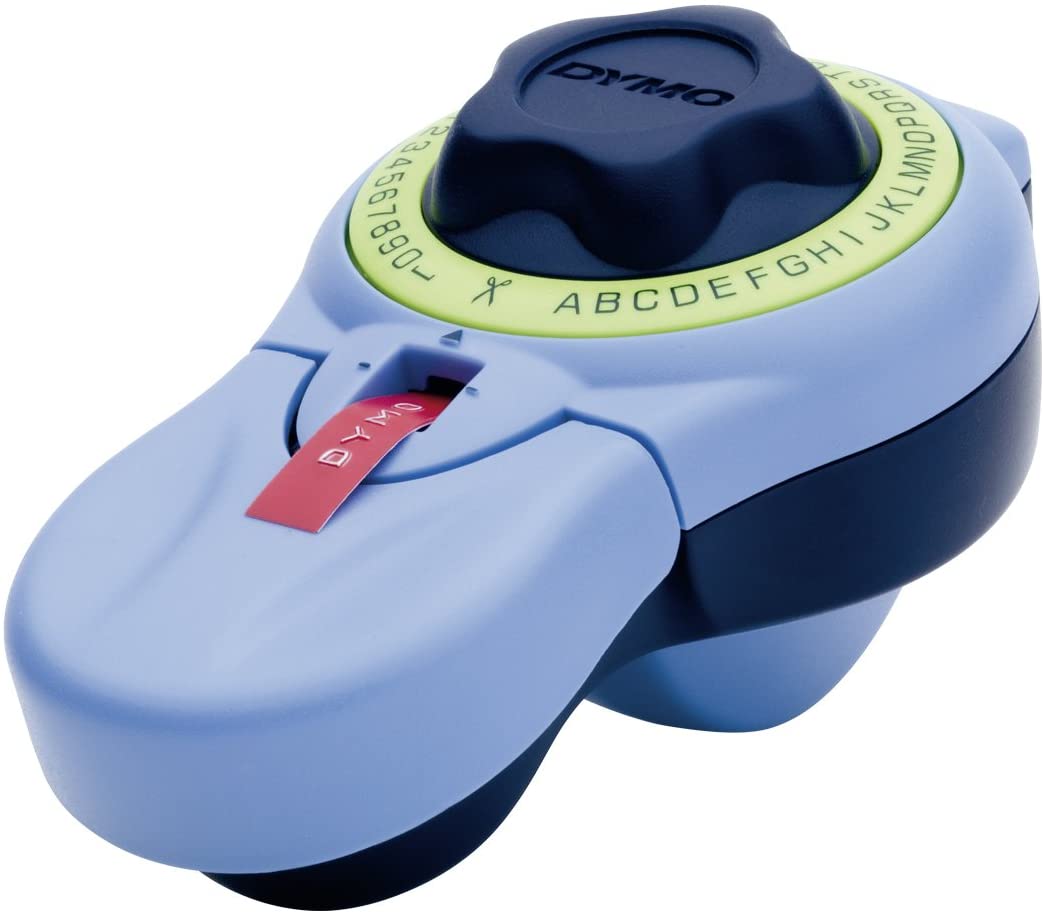
For smaller mason jars where I store my nuts and seeds, I used my little Dymo label maker. They have digital print out ones, but I love the old look of the punch labels (black of course). I like how it breaks things up a bit in the space and you don’t only see large white labels on everything. Just adds a bit of variety. These are also great because they can be changed so easily. They stick well, but dont leave any marks or paper behind when you need to change them!

A lot of jar sets actually come with stickers (plain or chalkboard ones) you can either write on or have predone text on them, but I was going for a specific look. Etsy has lots of options, I think Amazon even has a few, the Container Store is FANTASTIC (pricier), but I decided I would make my own! I bought blank 8.5″ x 11″ white sticker sheets and then made the labels in Photoshop.

~ FREE GIFT From me to YOU ~
As a special thanks to my readers, I have created a PDF printable file of all of the pantry labels! This is a great little set and includes just about everything you can think of for a pantry and its broken down into sections:
- pasta
- snacks
- grains
- drinks
- legumes
- baking supplies
And if you’ve been thinking about redoing your spice drawer… fear not, those labels will eventually make it to the blog as well! You can find the download to the labels below:
Step 5
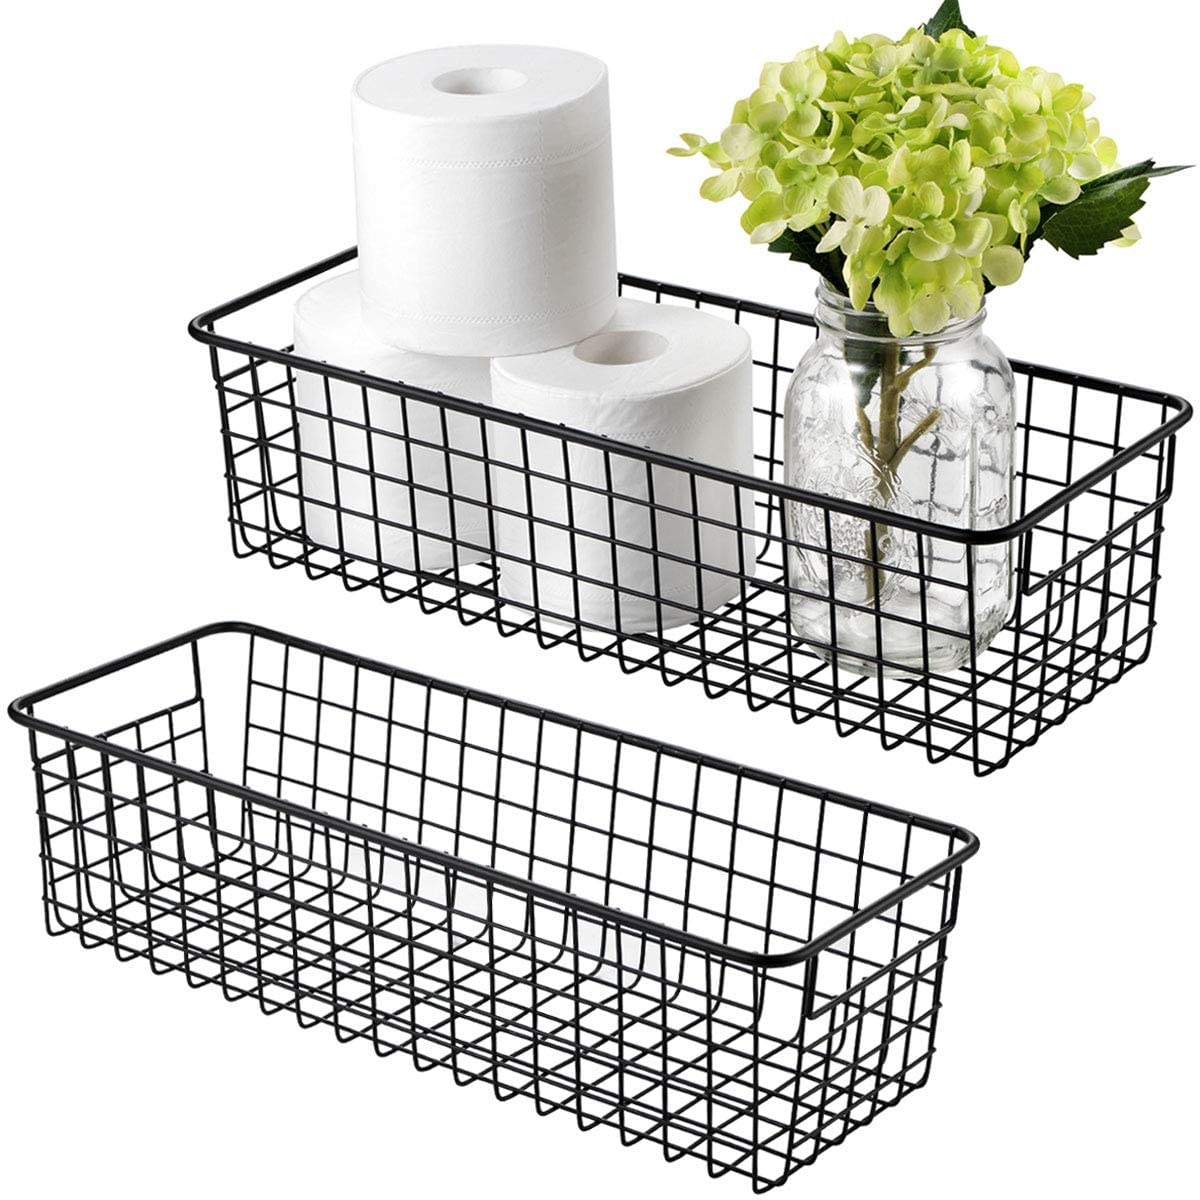
With your jars and containers now filled and labeled, you are ready to start loading up you pantry and shelf space. I really did keep my extra product to a minimum, so I wasn’t left with a lot to store elsewhere. I have always kept extra nuts and seeds in the fridge to make them last longer, but any bags/boxes or products that still had a bit left were placed in larger baskets. I kept two large ones at the top of the pantry and then there are two smaller ones BEHIND the pretty jars… you can’t even tell they are in there unless you really look.

My best Pantry Organization tips
- choose ONE large area at a time, then break that up into smaller tasks to keep yourself from being overwhelmed
- evaluate your space and plan on paper first
- list out everything you need containers/jars/bins for and purchase those… Thrift stores usually have a TON of pantry storage and buying here will save you so much money OR repurpose old jars and bins
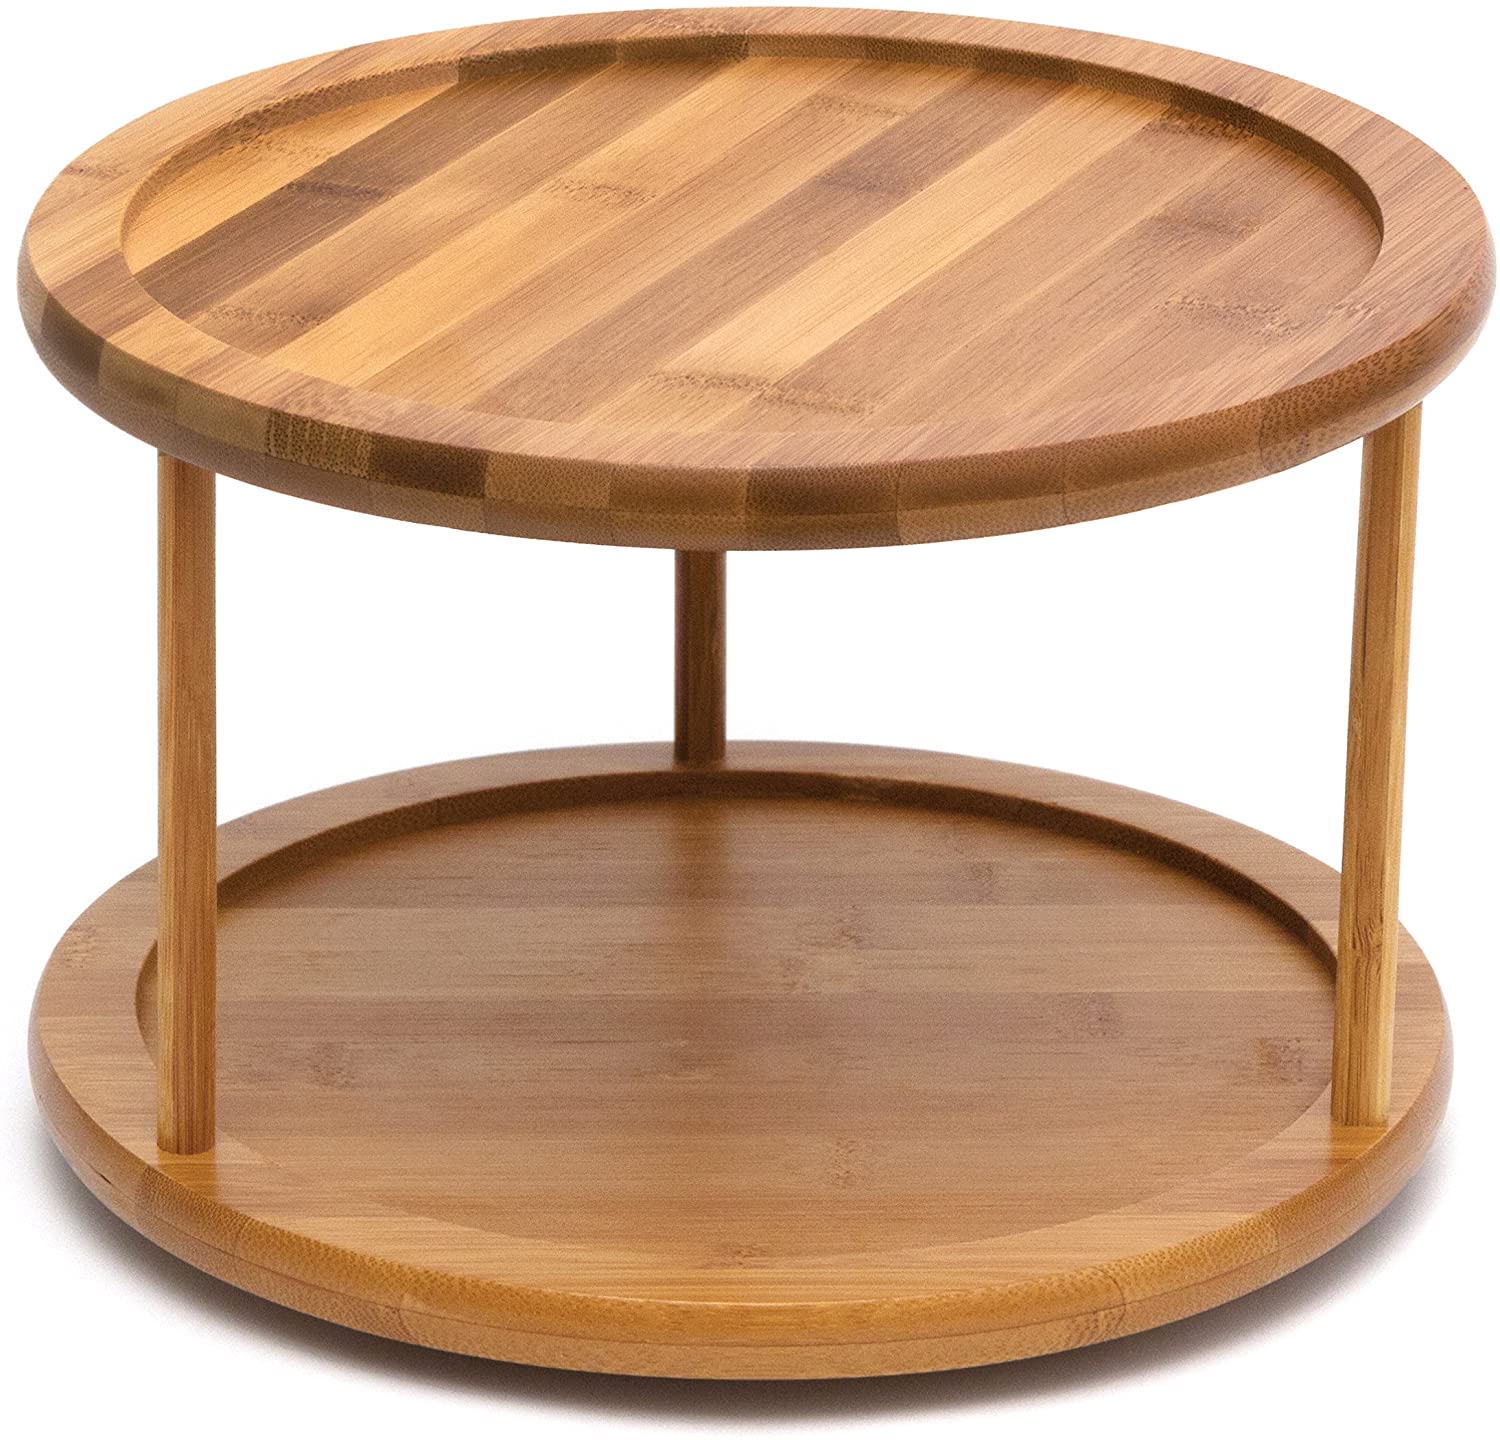
- Lazy Susan’s are a MUST have for any small pantry
- remove EVERYTHING
- deep clean EVERYTHING
- group with like items
- make it functional for YOU and if something creates spark in YOU, thats all that matters
- label jars, containers, and bins (if that makes you happy and sparks joy)
Step back and enjoy YOUR space friends… it’s a good one!


